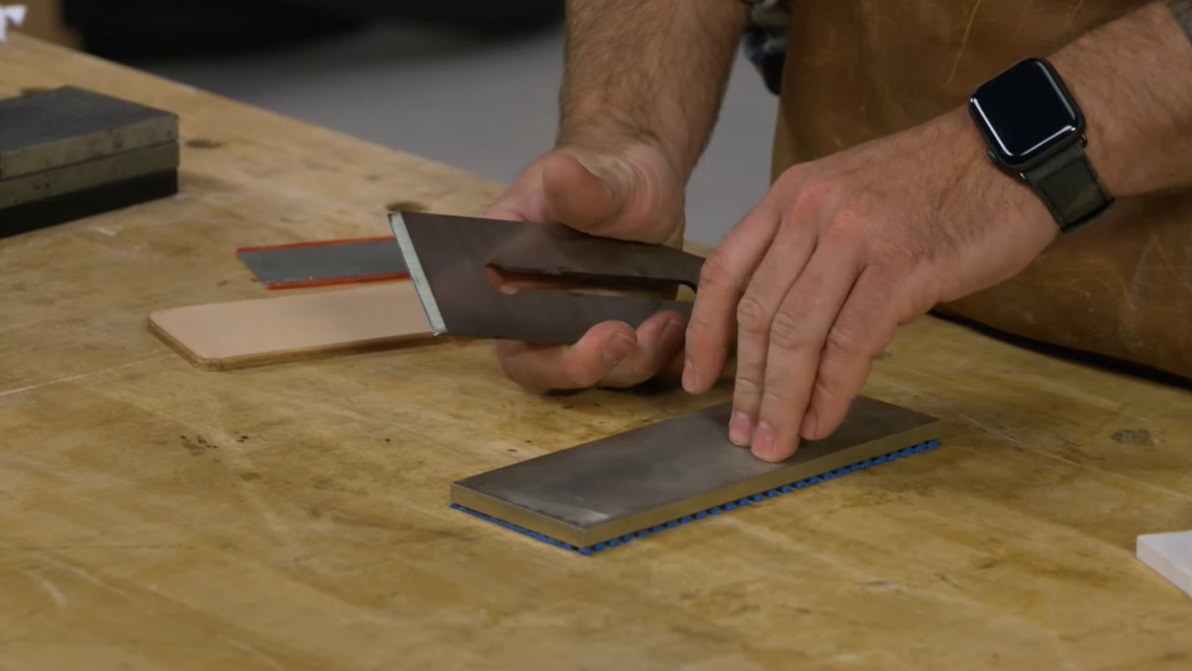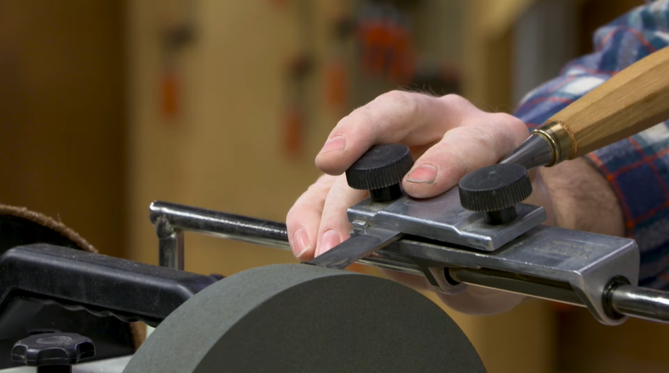
Sharpening is one of the most fundamental skills in woodworking. Unfortunately, it’s one that also seems to give a lot of woodworkers trouble. Which probably explains the popularity of honing guides. You can hardly open a woodworking catalog without finding a new device that promises to make sharpening your hand tools foolproof.

It’s certainly possible to learn how to sharpen accurately without the use of a honing guide. But when honing freehand, there’s a tendency to slightly shift the angle of the tool at the beginning or end of each stroke. This can result in a rounded bevel that won’t cut as effectively (seen in drawings).
A lot of woodworkers (myself included) find it easier to achieve consistent results with less hassle by using a guide of some sort. Since a honing guide holds the tool at a fixed angle to the sharpening stone, it’s a lot easier to get a flat, consistent bevel. Most honing guides are also adjustable, making it easy to dial in an exact bevel angle.

Recently, I took a look at ten different honing guides and compared the features of each one. They range from simple, no-frills examples to ones loaded with bells and whistles. As you might expect, they also range in price, from under $20 to well over $100 at the upper end of the scale (see page 51 for sources).
General
The first honing guide I tried was one by
General.
This guide is made up of two halves that are hinged to adjust the bevel angle. A clamp at one end holds the tool, while a roller on the other end allows the guide to travel back and forth.

Unlike most of the other honing guides, the roller of the General guide doesn’t ride on the sharpening stone. Instead, it rides on the surface of your workbench. This poses a problem if the faces of your sharpening stone aren’t parallel. Additionally, you’ll have to reset the guide whenever you switch to a sharpening stone of a different thickness. I find this to be a major drawback.

At around $20, the General honing guide is one of the less expensive models on the market. But I think there are better options available.
Stanley
It seems only natural that a company known for its hand planes and chisels would also make a tool for sharpening them. The Stanley honing guide has been around for quite awhile, and hasn’t changed much. It’s available in a kit that includes an 8" oilstone and lubricating oil.
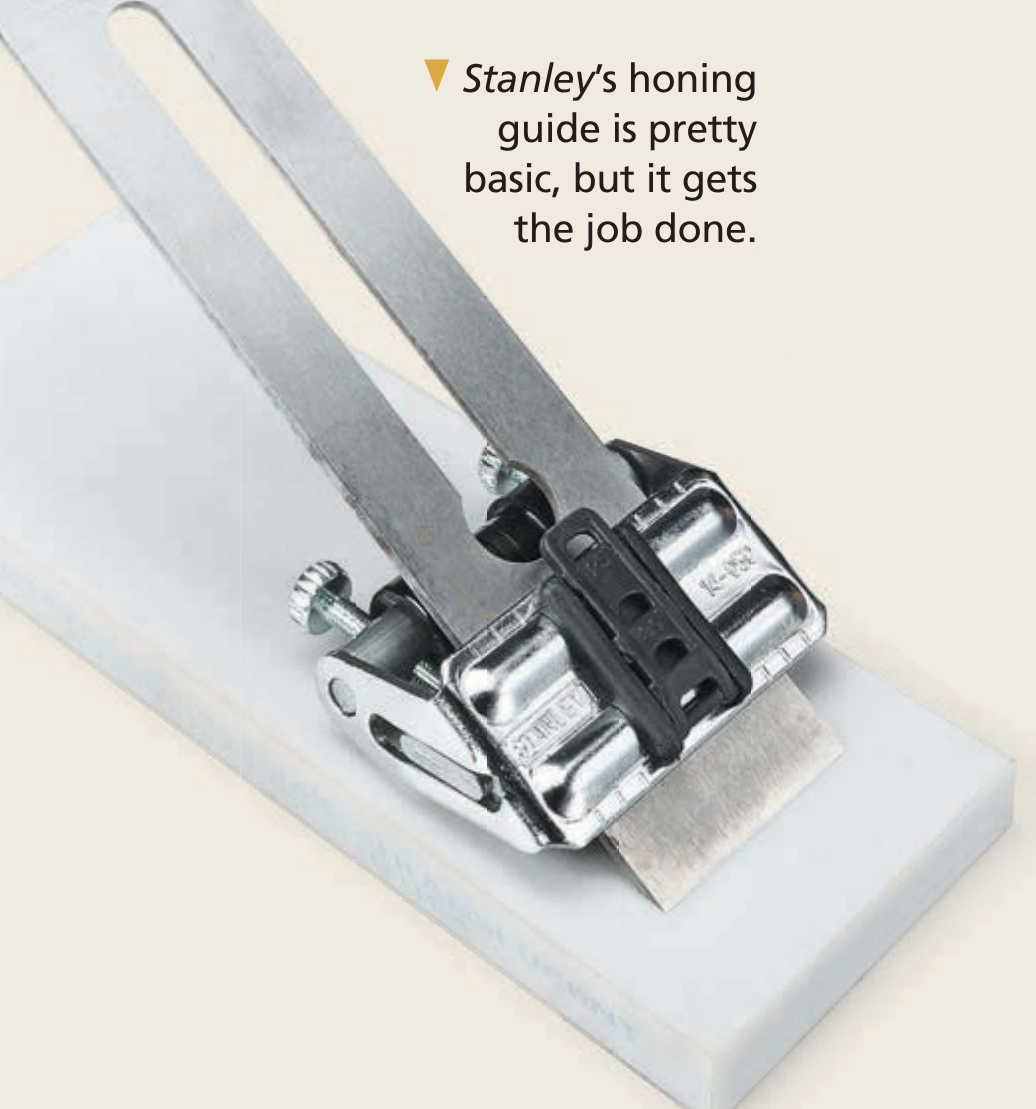
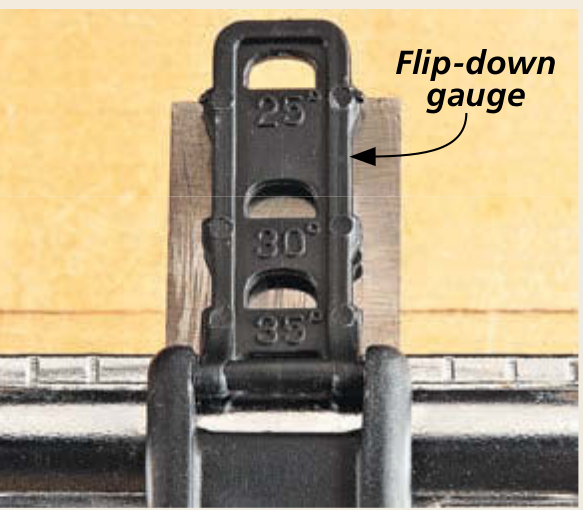
One improvement that has been added to this honing guide over the years is a plastic, flip-down gauge (see photo below) that helps you to position the edge of your tool for one of three commonly used bevel angles.
In use, I found clamping up a tool in the guide to be a bit difficult. You have to tighten down two thumbscrews to hold the tool in place, and they’re uncomfortable to grasp and difficult to access. Once you have everything set up though, the jig performs adequately.
Eclipse-Style
The original Eclipse honing guide was made for years by a company in England, and was a favorite of many woodworkers. Although the genuine Eclipse guide is no longer made, there are a number of slightly lesser quality knock-offs that sell from $10 to $15.
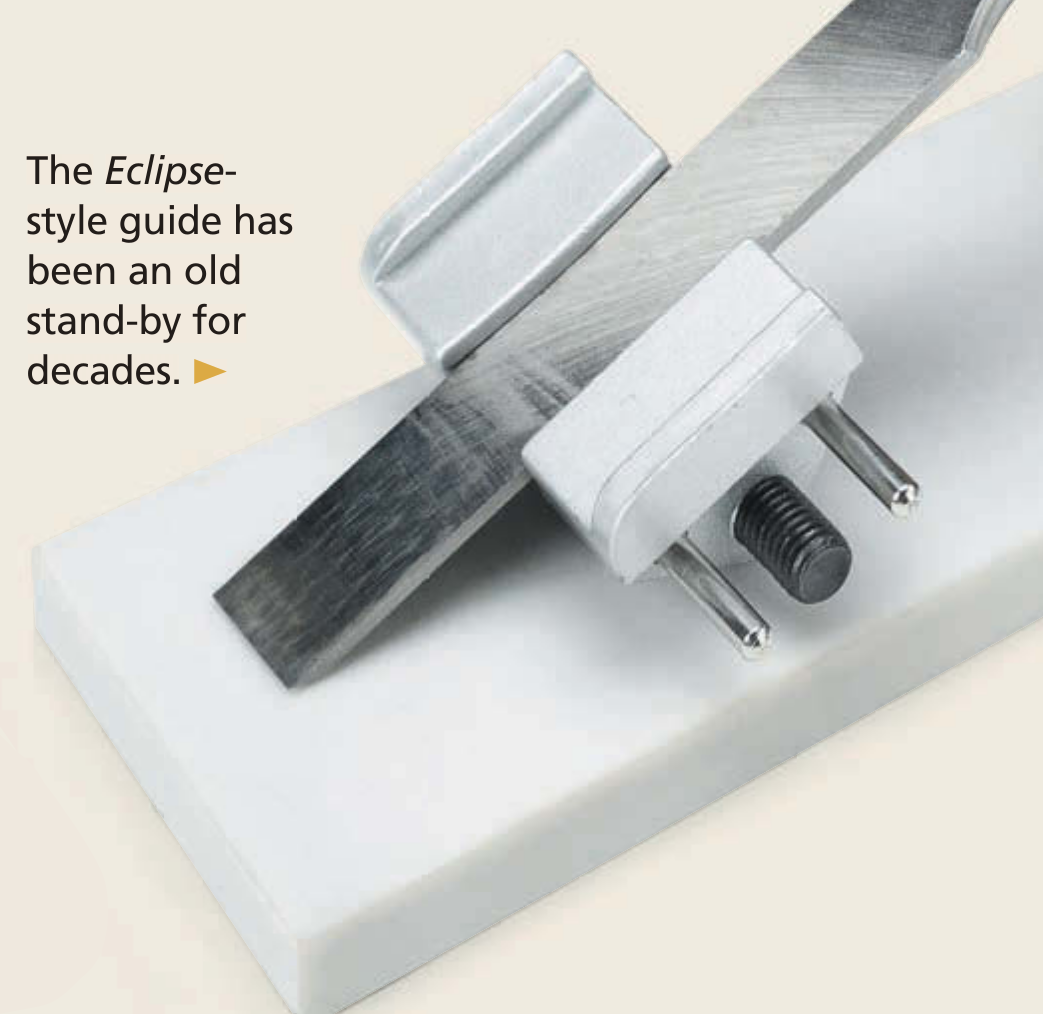
The Eclipse -style honing guide holds the tool to be sharpened between a pair of stout jaws. Plane irons fit in the upper opening and chisels fit in the lower opening. The design automatically squares up the tool in the guide, which cuts down significantly on set-up time.

My only real complaint with the Eclipse -style guide is the roller. Because it’s so narrow, you have to be careful to avoid tipping the jig in use, especially with narrower blades. But if you’re looking for a basic, no-nonsense honing guide, this one is hard to beat.
Richard Kell

The Kell honing guide is a simple and elegant design. Made in England by craftsman Richard Kell, it’s beautifully machined and is silky smooth in operation. Rather than positioning the roller at the rear, this guide uses a pair of rollers on the sides of the jig.
The Kell guide is simple to use and works well. It’s biggest downside is that it only handles blades up to 1 1 ⁄ 4 " wide, making it useful only for chisels. Kell makes a wider version of the guide that will accommodate blades up to 2 5 ⁄ 8 " wide. But the wide version is awkward to use with narrow tools, so you really need to have both models. At approximately $70 apiece, this starts to become an expensive proposition.
Alisam Sharpening Sled
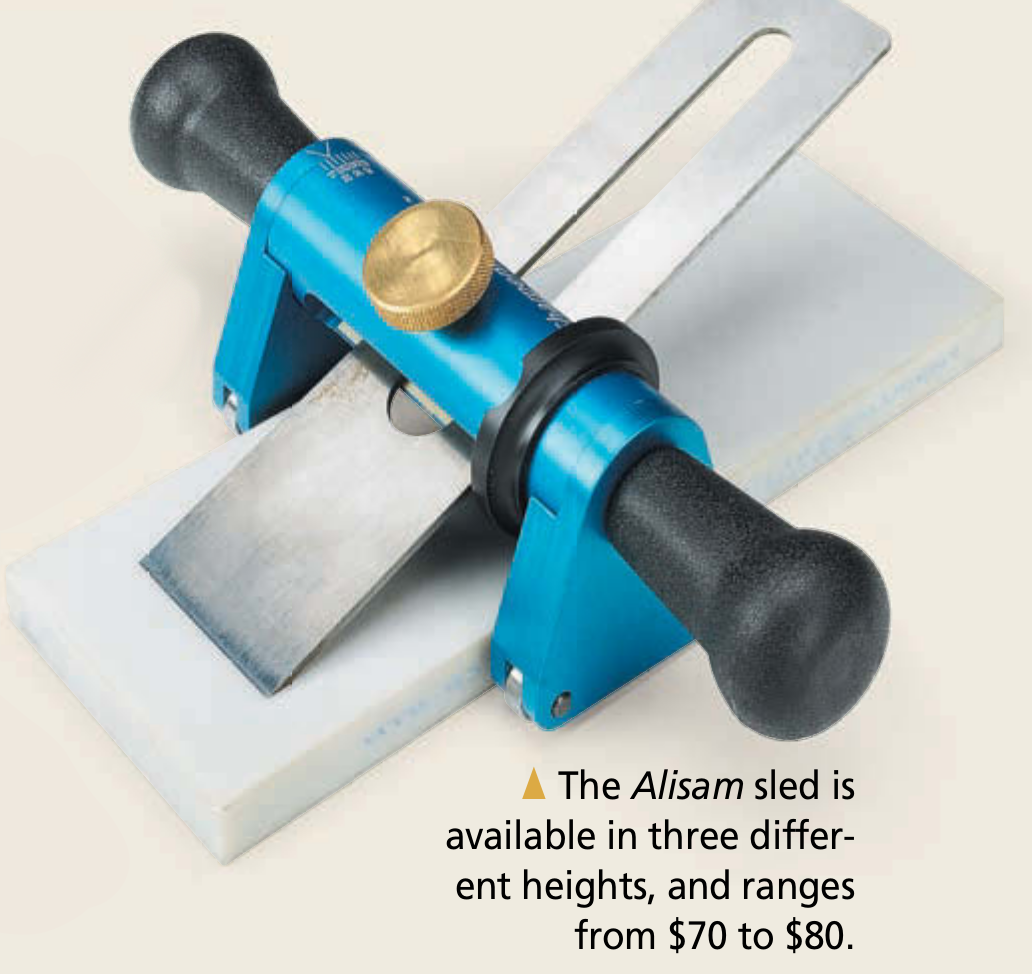
Like the Kell guide, the Alisam Sharpening Sled also features sidemounted rollers. But the Alisam sled straddles the stone rather than riding on top of it. This wide stance makes it easy to control.
The Alisam sled is offered in three heights to accommodate different sharpening surfaces, from thin surface plates to 2"-thick waterstones. The sides detach from the body of the sled, so you can change heights by simply swapping one pair of sides for another. (Extra pairs of sides are sold separately.)

Of all the guides I tried, this one was the most comfortable to use. The large handles on either side of the sled make it easy to grip.
Like the General , the Alisam sled requires that your sharpening stone has perfectly parallel sides. But for sharpening on a surface plate with sandpaper, where this isn’t an issue, this guide is a good choice.
Veritas Mk. II
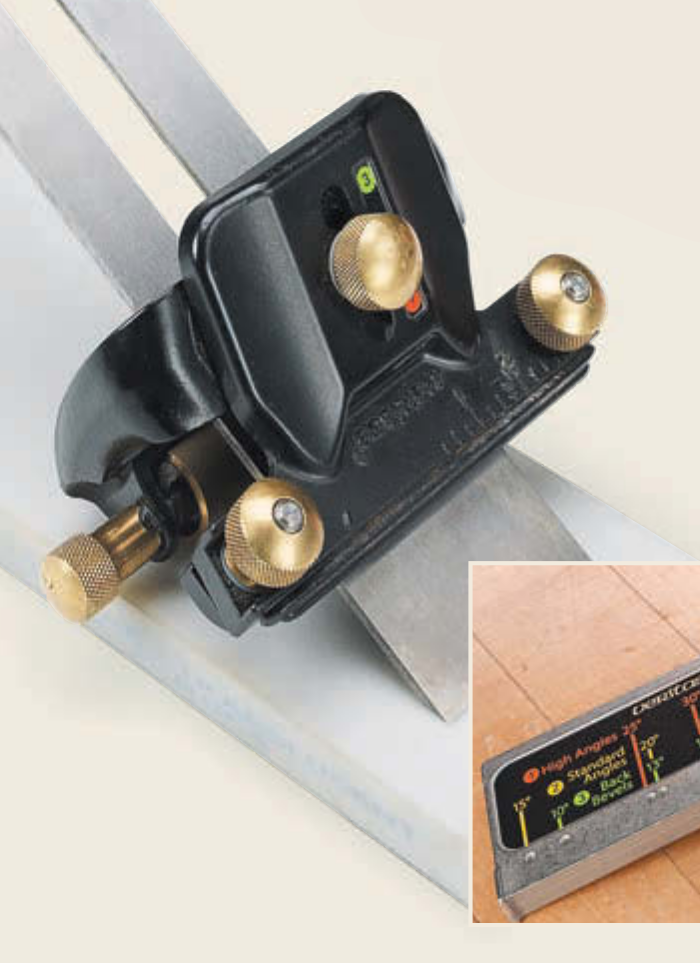
It’s hard not to like the Veritas Mk. II . The clamping bar holds the tool securely. The wide roller operates smoothly and has a built-in feature for adding a micro-bevel to the edge of a tool. The contoured body makes it comfortable to hold onto and use.
The Mk. II is supplied with a set-up gauge that squares the tool in the jig and makes it easy to precisely position the edge for any bevel angle you can imagine. It can even be used for honing back bevels on plane irons.

It’s hard to find fault with this guide, but if I had to, I’d say that it’s a bit large and heavy compared to some of the other guides. This can make it a little harder to control when sharpening narrow chisels. Still, it remains my favorite in the mid-price range.
Veritas Honing Guide
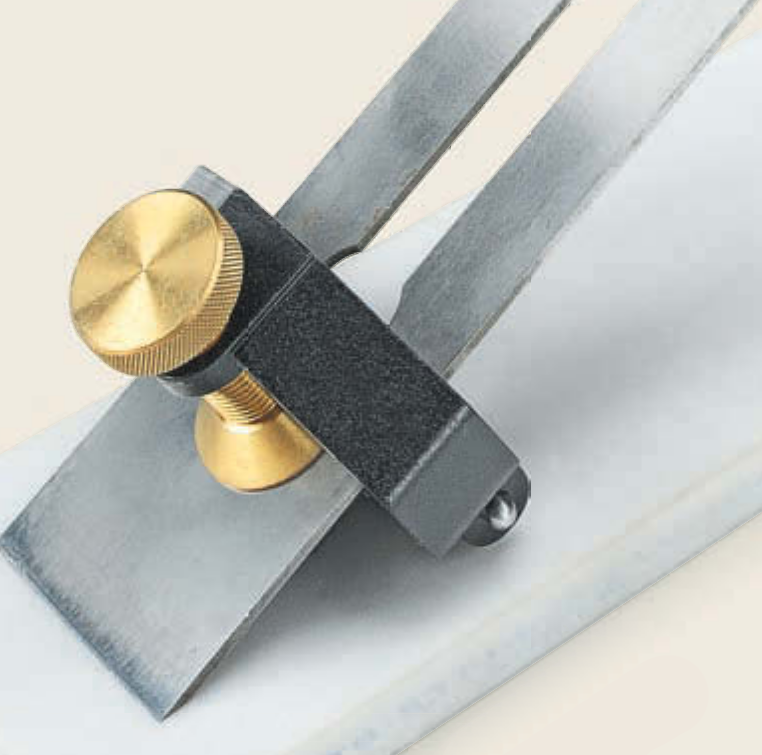
The original Veritas honing guide is the precursor to the Mk. II version shown above. For some reason, Veritas continues to make this earlier model, even though it’s kind of like IBM making typewriters after the advent of personal computers.
Combined with the angle jig, the Veritas is fairly easy to set up. A quarter or half turn of the knob on the side of the roller allows you to quickly add a micro-bevel to any tool.

The main gripe I have with the Veritas is the clamp. It’s easy for tools (especially narrow chisels) to slip and pivot under the singlepoint clamp. At $45 for the guide and angle jig, I’d say you’re better off spending a little more for the Mk. II .
Pinnacle
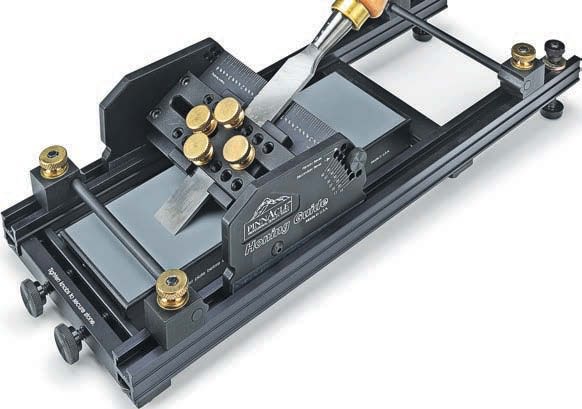
The Pinnacle honing guide wins the Rube Goldberg award for the most complex design. Unlike all the other guides, this one doesn’t use rollers. Instead, the tool is held in a sled that rides in a pair of rails.

Slick, plastic wear strips allow the sled to slide back and forth over a sharpening stone or a metal honing plate that can be used with sandpaper or an abrasive honing film.
The guide features a range of adjustments that enables you to hone the primary bevel at 5° increments, and then position the guide for a 2° secondary (micro) bevel.

Although the Pinnacle guide gives good results, the set-up time and number of adjustments required are both major drawbacks. This, combined with a cost of around $100, makes it a hard sell.
Sharp Skate 2
The Sharp Skate 2 is unique in that unlike all the other honing guides, it’s designed to sharpen from side to side rather than back and forth. The bottom of the guide has a row of tiny rollers, like an inline skate.

The guide is nicely machined and comes with a jig (the Angle Dock ) for setting the bevel angle. One selling point of the Sharp Skate is that it can handle short-bladed Japanese chisels and skewed chisels.

The inventor of the Sharp Skate claims that side-to-side sharpening is easier to master. Although it felt a little unnatural at first, I imagine I could get used to it. But unfortunately, with a price tag of $170, I doubt that I’ll have the opportunity to find out any time soon.
Worth a Look: Oar Honing Guide

All of the honing guides shown above are designed to handle straight-edged tools like chisels and plane irons. But the Oar honing guide (shown at right) is designed specifically for gouges. The curved design of the guide allows you to “rock” the tool back and forth over the stone, following the sweep of the curved edge (see photos below).


The Oar guide is useful for establishing an initial bevel angle. But it’s time-consuming to set up. So I think you’re better off learning to do any subsequent honing freehand.
Product Recommendations
Here are some supplies and tools we find essential in our everyday work around the shop. We may receive a commission from sales referred by our links; however, we have carefully selected these products for their usefulness and quality.


