Router Mat

When it comes to hand-held routing, securing the workpiece can be a challenge. You can clamp it to the workbench, but then you need to remove the clamps and reclamp it to access all the edges. Fortunately, there's an easier way.
A rubber router mat on the benchtop grips the workpiece, holding it securely in position. All you need to do is maintain even downward pressure as you rout and the workpiece won't move. It's quick and easy to use - a perfect solution.
A favorite use for the mat is when adding an edge profile to a workpiece, as in the photo above. Another nice thing is router mats are easy to store. You can keep one rolled up in a drawer, ready to use at a moment's notice.
Guide Bushings

Whether it's routing dovetails, a groove for a decorative inlay, or hinge mortises, using a template and a guide bushing makes short work of the task. Guide bushings are simply rub collars that attach to the baseplate of your router with a knurled locking ring. The bushing follows the template. A set of bushings includes several sizes to accommodate different bits and templates. There's a bushing for just about any application.

Perhaps the most popular use for guide bushings is when using a dovetail jig, like the one shown in the photo above. The jig is simply a shaped template that defines the location of the pins and tails. The bushing follows the contours to cut perfectly matched parts, guaranteeing uniform dovetail joints.
Edge Guide

Sometimes a project calls for a groove or dado parallel to the edge of the workpiece. In that case, an edge guide makes routing the groove a breeze. The guide is usually a simple fence that attaches to the base of the router. The fence follows the edge of the workpiece and ensures the groove remains parallel to the edge.
While many routers come with an edge guide included, there are also a few after-market options. The photo shows an attachment made by Rockler.
The Rockler edge guide fits virtually any router base simply by removing the baseplate and replacing it with the clear acrylic plate of the guide. Then, all you need to do is set the fence for the location of the groove or dado by loosening the knobs and swiveling the router into position. Now you're ready to go.
Collet Extension

Occasionally, you need to extend the depth of cut of one of your bits. A good example is when routing a bowl, as shown here. The required depth of the cut can't be achieved by the bowl-cutting bit alone. In this case, I turn to a collet extension so the bit can cut deep into the blank.

Using an extension is pretty straight forward. Just install the extension in the router and tighten the collet nut. Then secure the bit into the extension.

A word of caution, however, before you get started. When you use an extension, you increase the stress on your router's shaft when moving into a cut. If you push too hard, you can damage the bearings. But if you take it easy (let the bit do the work) you shouldn't have any problems.
Trammel

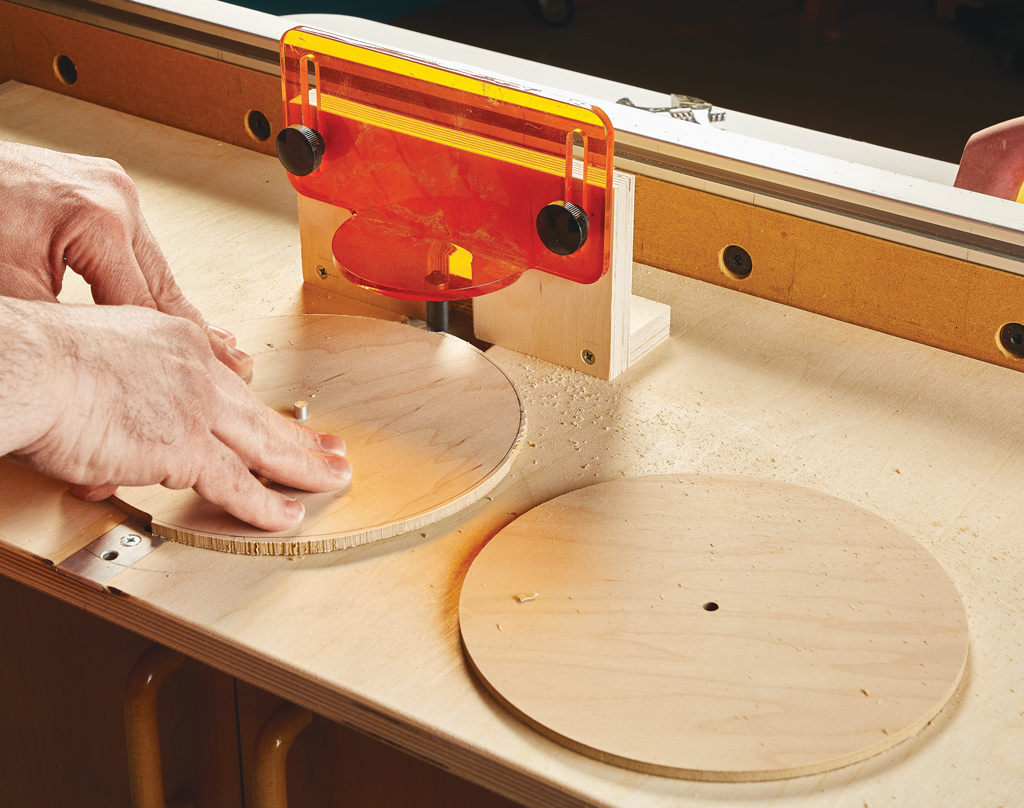
There's no better way to cut a circle, for a tabletop for instance, than with a router and a trammel. A trammel is simply an auxiliary base with a long extension arm. The extension is drilled with holes that fit over a pin set for the diameter of the circle you need.
While you can make your own trammel, the commercial versions aren't expensive and have a few advantages. First, most are marked with easy-to-read measurements, so setting the diameter of the circle is made easy. But best of all, the cut leaves the edge of the workpiece smooth, with very little sanding needed.


