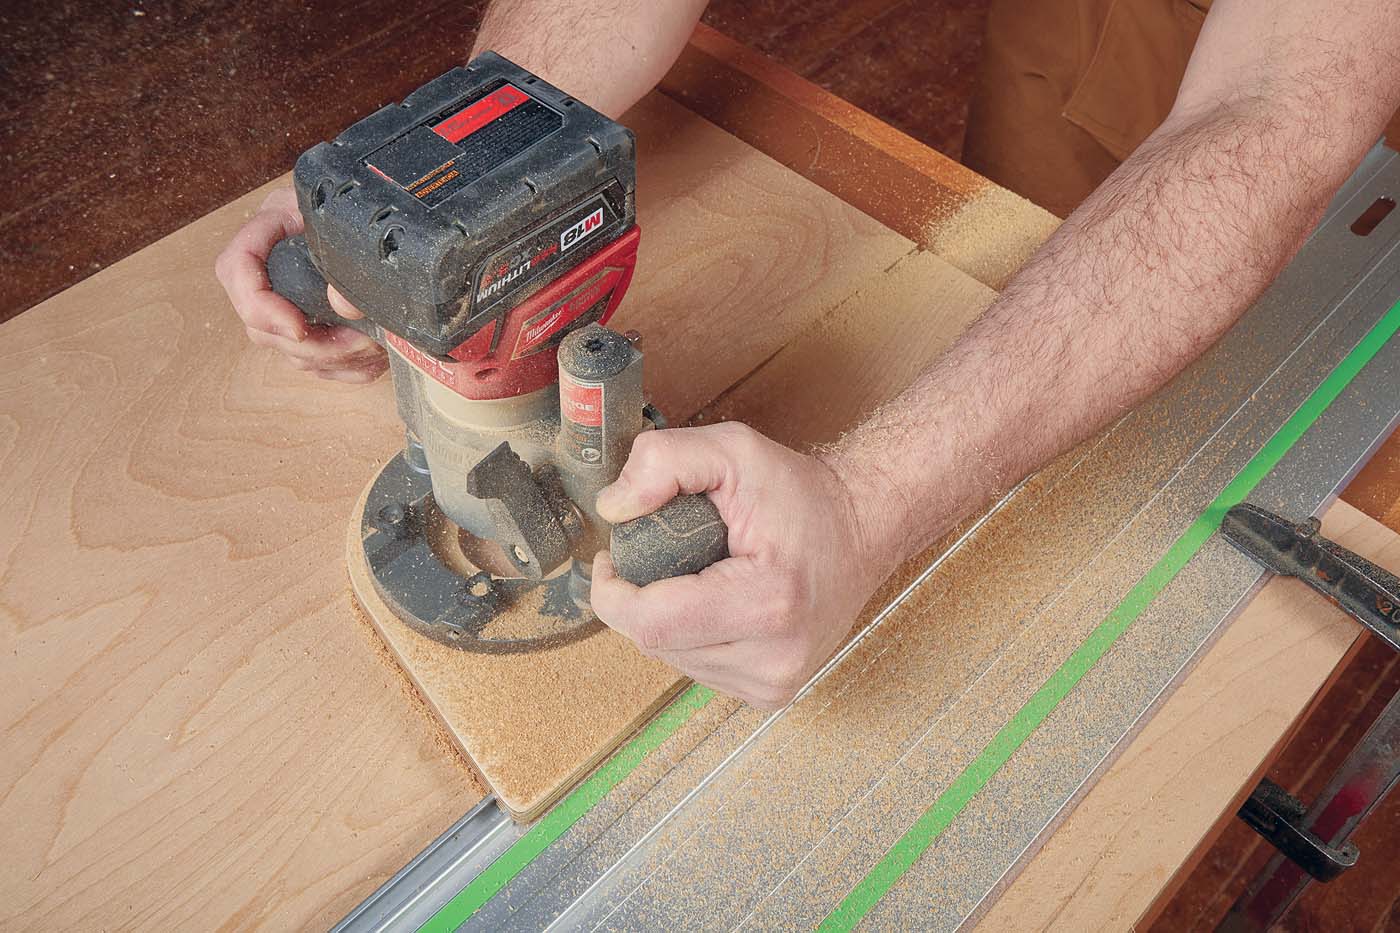
When making a project like a pizza peel, I use a simple trammel to cut the matching arcs that form the joint between the handle and the paddle. This is an easy way to get a good match between two curves. However, working on this unique joinery brought to mind another technique I wanted to try. The trick to this method is to use a pair of templates to rout the two parts of the curved joint.

COMPLEMENTARY TEMPLATES. In brief, the technique involves making two complementary templates. Starting with a single blank, you make both templates with a single cut using a router in a trammel, and a 3 ⁄ 8 " spiral upcut bit. The radius of the outer arc created by the cut matches the desired curve of the joint. The radius of the arc on the opposite side of the cut will measure 3 ⁄ 8 " less.
After separating the templates, each is used with a different router bit to create the joint. A flush trim bit guided by the concave template will give you the correct radius for one half of the joint. Since the radius of the convex template measures 3 ⁄ 8 " less, you make up the difference by using a bit with an oversize bearing on the shank. In this case, I combined a 5 ⁄ 8 "-dia. straight bit with a 1 3 ⁄ 8 "-dia. bearing to create the 3 ⁄ 8 " difference needed for the cut. The end result is a perfect match between the two curves.

It may seem like a lot of work for a “one shot” use. But if you’re making multiples, this technique makes considerably more sense. And the same general technique can even be applied to free-form curved joints.
THE TEMPLATES. Making a set of accurate templates is essential to the success of the process. I found that there were three keys: I used easy-to-rout 1 ⁄ 2 " MDF for the template blank, a 3 ⁄ 8 " spiral upcut bit with a 1 ⁄ 2 " shank to make the cut and, as I mentioned, a shop-made trammel to guide the cut.

I started with a blank big enough to accommodate both templates with enough extra material for clamping when in use. The drawing above shows how the blank is laid out.

After drilling the pivot pin hole, lay out and drill a starter hole for the router bit near one edge. The template cut you’ll make is roughly semicircular. This will give you more than enough “guide edge” when making the short arc cuts on the paddle and handle blanks.
THE TRAMMEL.
The trammel I used is simply a rectangular piece of 1 ⁄ 4 " hardboard mounted to the router base (third photo above). After attaching it and installing the bit in the router, you can measure from the outside edge of the bit to locate the pivot hole (4 1 ⁄ 2 "). I used a small nail as a pivot pin.
THE TEMPLATE CUT. Now, you’re nearly ready to make the template cut. First, be sure the bit is adjusted to cut completely through the blank. Then clamp the blank down over a sacrificial panel. Place the bit in the starter hole and securely engage the pivot pin in the blank. You’ll have to lift the router slightly to start it, then plunge it into the backup piece and slowly rout the half circle. Finally, the two templates can be separated at the band saw by making a cut from each side (template drawing).

THE PADDLE CUT. Making the templates is the hard part. Using them is pretty straightforward.
I started with the paddle blank. The template for this half of the joint matches the final shape so you can use it to mark the paddle blank for rough-cutting on the band saw. Draw a centerline and two end lines on the paddle blank and use them to position the template, as shown in the left photo above. When removing the waste, stay just outside of the layout line (photo above).
As I mentioned, you’ll use a flush-trim bit with the paddle template. This means the template has to be positioned beneath the blank when routing, as you can see in the left photo below. I positioned the template using the layout on the paddle blank, then flipped it over to clamp both parts down firmly to the bench. The section to be routed overhangs the benchtop.
To get a smooth, chatter-free edge, I used a spiral downcut flushtrim bit with a 1 ⁄ 2 " shank. Rout from left to right, concentrating on keeping the router flat on the blank.

THE HANDLE CUT. The handle cut is different in a couple of minor ways. Since the handle template is offset from the final joint line, I again used the paddle template to lay out the joint on the handle blank for rough cutting. Just reverse its orientation so the template extends off the end of the blank.
This half of the joint is cut with the “offset” bit I described earlier. You can use any combination of bit and bearing that creates a 3 ⁄ 8 " offset. But just make sure the bearing is fixed tightly on the bit shank.
Since the bearing is on the shaft, the template will be positioned on top this time (right photo below). It works best to make this cut in one shallow pass. You may get minor chipping at the end of the cut, but this is waste that will be cut away.
Now if you’re anything like me, you’ll be itching to check the fit of the two pieces. And if your experience matches mine, you’ll be pleased with the result.


