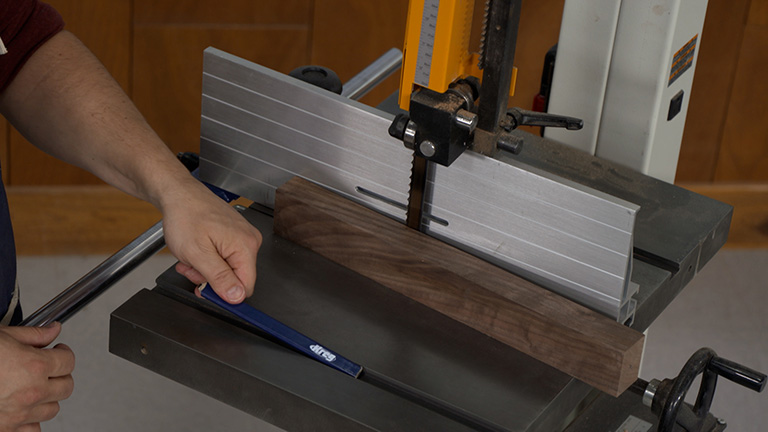
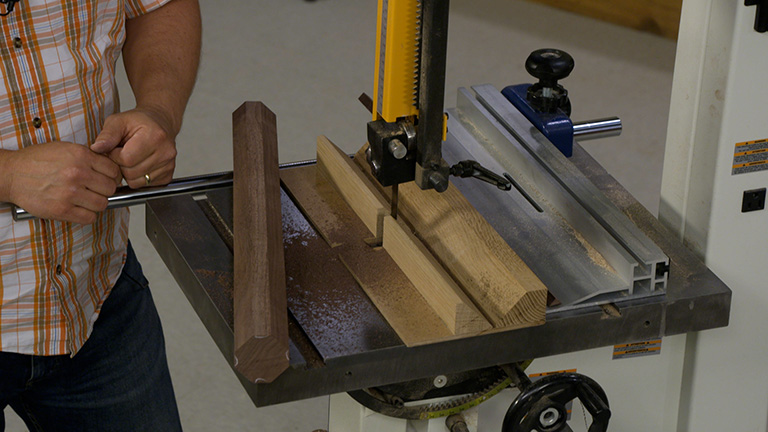
The mortise and tenon joint is great for building a rock-solid assembly. So, there are a lot of furniture projects that call for mortise and tenon joinery. I’ve tried several different ways to cut tenons. But I’ve found that with a simple fence and stop block, the band saw is one of the quickest, easiest, and most reliable methods. And, with the exception of cutting them by hand, I think it’s also the safest. That’s why you may want to give this method a try.

I like to cut my mortises first, because I find it easier to fit a tenon to a mortise than vice-versa. Then, I can lay out a tenon on a piece of scrap cut to the same size as the workpieces. Using this piece allows me to accurately set up the fence and stop block for the rest of the cuts. The shoulder cuts determine the length of the tenon and are visible when the pieces are joined. By cutting them first, ensure a square and tight fit. With your stock against the miter gauge, set your fence as the stop for the tenon length. Then, with the blade on the waste side of the layout line for the shoulder, make the cut slowly and stop just after the line. Finally, turn off the saw, and lock the stop block in position to limit the depth of the remaining shoulder cuts. If necessary, use the same method to reset the stop block and make the top and bottom cuts.

Cutting the cheeks is a similar process, but you won’t need the miter gauge. Set the fence so the blade cuts on the waste side of the layout mark, then slowly cut just to the shoulder line. As before, turn the saw off, and lock the stop block in position.

Now is a good time to test fit the thickness of the tenon. I like to leave it a hair thicker than the mortise. This way, I can smooth the cheeks by taking a pass with a plane or sanding block, removing the saw marks while sneaking up on a nice, tight fit.
If the thickness is correct, make the cheek cuts on the rest of the workpieces. Then, you can leave the stop block in place and reset the fence to cut the tenon to width using the same technique.


