V-carving in its essence is simple, requiring only two lines that join at the ends, it’s how we work with those two lines that makes all the difference.
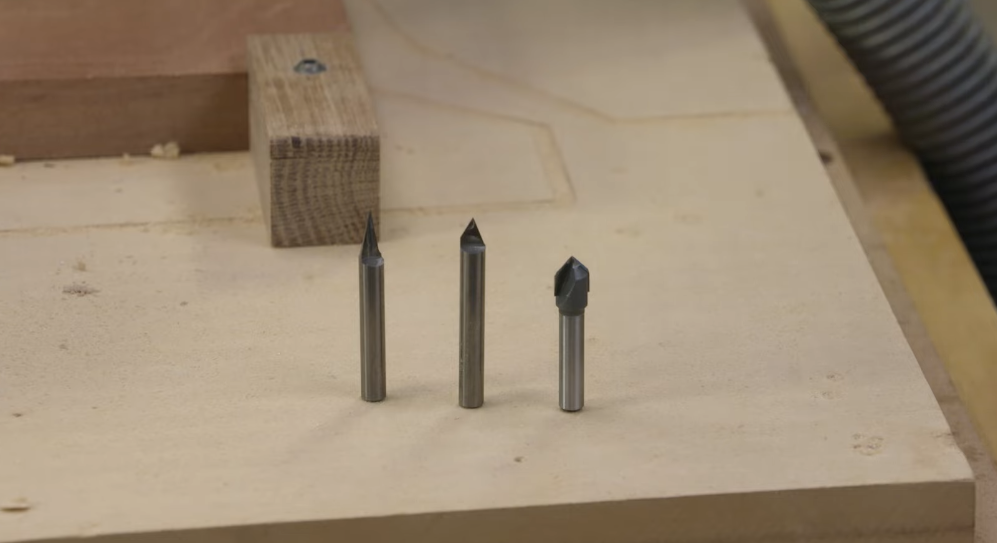
Bit selection. First, let’s choose a bit. V-carving bits are available in 90, 60, or 30 degree cutting angles. For most lettering and pattern work the 90 degree bit is a great choice. It is rugged and can cut broad lettering without going too deeply into the workpiece. The 60 degree bit produces a steeper side wall in lettering – this has the advantage of producing more relief and therefore, more shadow for lettering that “pops”. The 30 degree bit is a winner for small lettering and designs with its deep cut and steep walls. One thing to remember about the steep angled bits, such as a 30 degree bit, is that they will have to cut very deep in broad areas to form the “V” that gives v-carved lettering it’s pristine look, or the bit will come to a preset depth limit and have to carve a flat area between the walls. It’s always best to limit the flats.
Learn the Lettering. Take the time to learn some fonts. There are dozens of awesome fonts from classic to highly-stylized. If you are looking for a fun evening project, make a library of 20 or so v-carved samples each in a different font. The phrase “The quick brown fox jumps over the lazy dog” uses every letter in the alphabet. Label each sample with the font used and make up a sample chain that you can easily refer to when working on a future project.
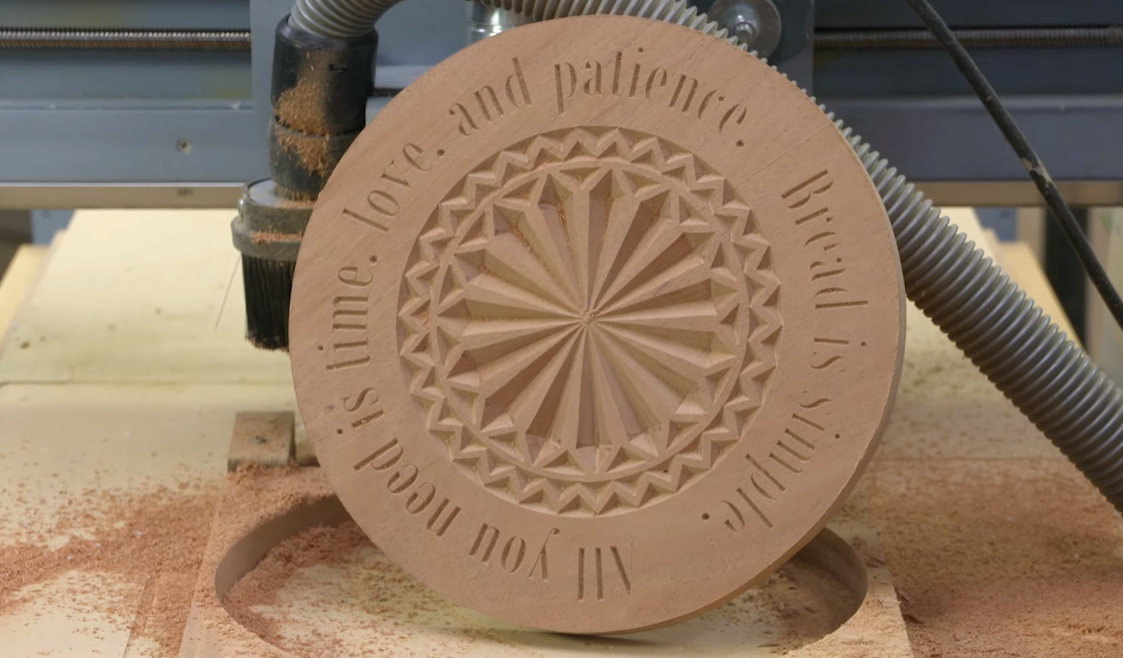
Text can sometimes look very stiff and forced on projects. Explore the options in your drawing software for modifying text. Think about how you can “shape” the text lines to reinforce the look and style of the project. One way is to use a text wrapping function. The text wrapping function allows you to “flow” the lettering around curves giving your work a feeling of life and energy. Another useful function is “distort”. This function allows you to “pull” text larger or smaller towards one end, or make it lean forward or back.
Create Patterns and “Draw” with V-carving.
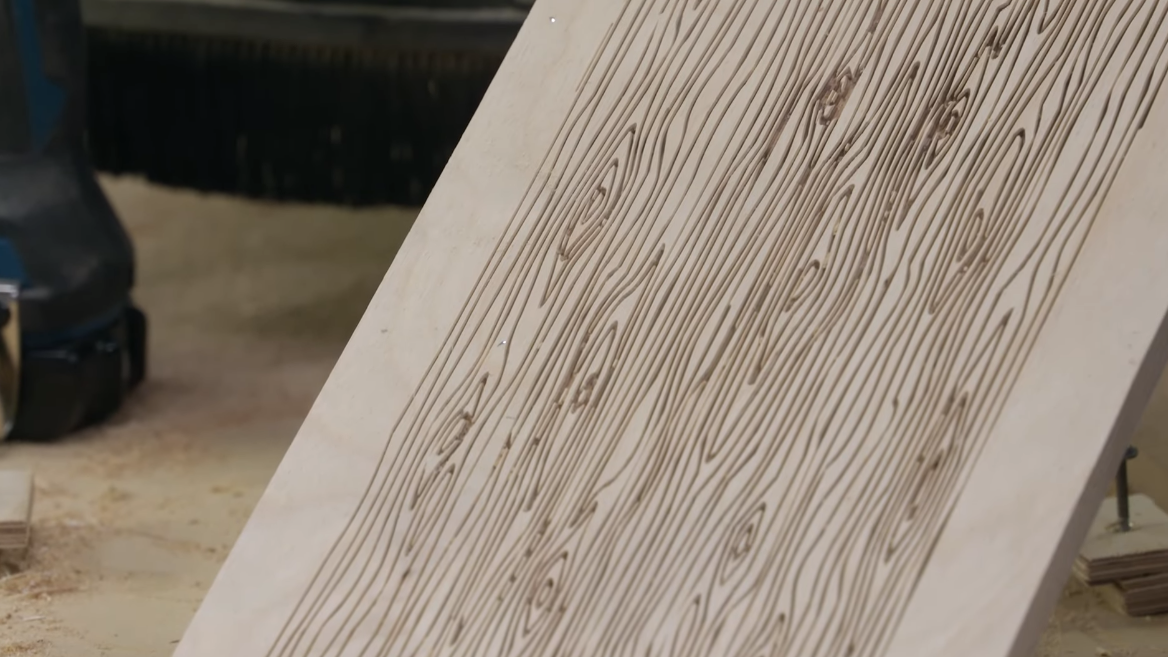
Creating patterns with v-carving is great fun. The patterns can be based on rigid geometry, be highly organic and flowing or anywhere in between. One resource for geometric patterns are books for chip carving. Although a very different form of work, the craft of chip carving offers a wealth of material to inspire and learn from. Organic patterns can be found with a bit of searching, and woodgrain patterns are available on the web and can be the foundation of an amazing “make-over” for MDF, plywood, or even solid wood. Other organic patterns are scales, feathers, ripples in flowing water, or currents in air.
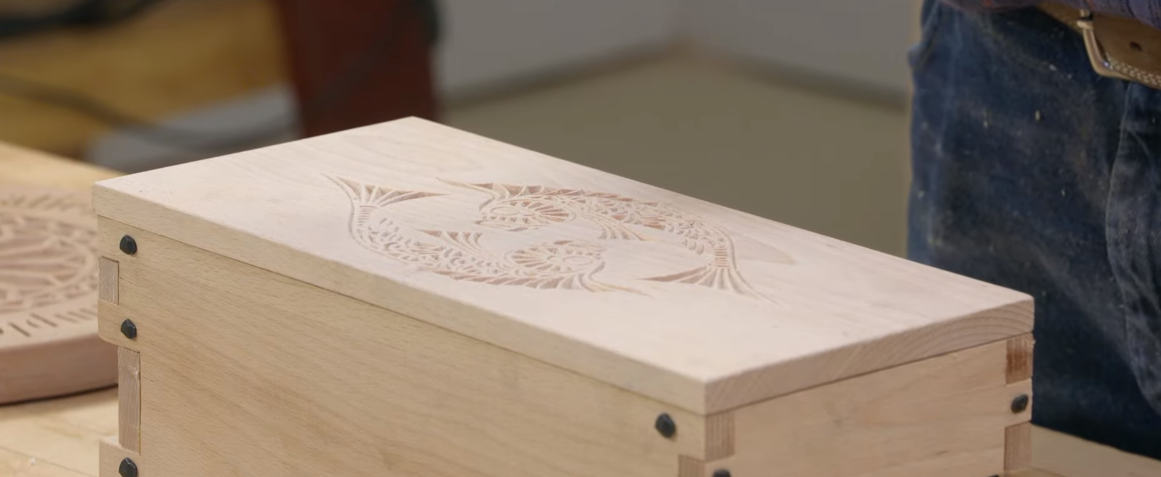
V-carving also lets you “draw” an object such as a ship, a landscape or cityscape, or an individual element such as a fish, a rooster or flower onto a workpiece. To start, scan an image and import it into your drawing program. Next, trace the basic outside outlines and then trace the elements that define the object such as fins on a fish. Use long sweeping cuts to define the overall shape of an area and then use shorter cuts as infill. A practice run on MDF will allow you to change and “edit” your work without fear of ruining expensive wood.
CNC woodworking is a deep well, so experiment with v-carving, learn some new techniques and get ready for friends and family to ask,“How did you do that?”


