When company comes over and the meal is finished it’s always nice to have a game to play - something that’s not hard to learn, moves along at a fast clip, and has plenty of opportunity for conversation (as well as a chance to brag when you win). In our family that game is dominoes.
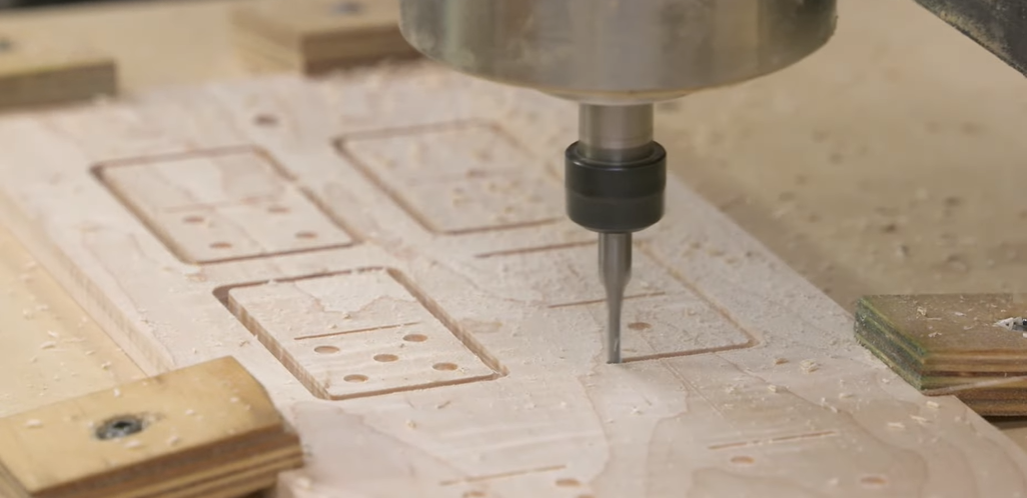
This episode’s project is a set of dominoes featuring a v-carved floral design and a matching storage box carved from a single block of wood. The project calls for profile cuts, pocket cuts, v-carving, and two-sided milling requiring exact registration, so it has some fun challenges and opportunities to learn.
The first challenge in creating our domino set is to draw the 26 individual pieces. That’s a lot of drawing with all of those “spots” for the number value. But fortunately, there is an approach that makes things a lot easier. I made a “master pattern” of one domino with all the possible number value locations drawn – 14 in total.
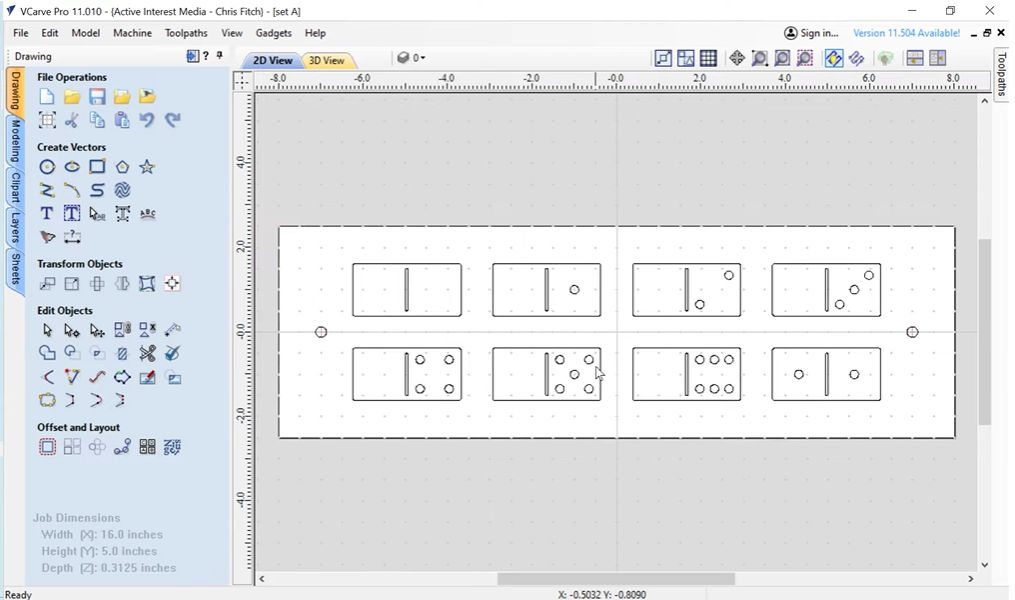
With the “master pattern” drawn, next used the rectangular array tool to create groups of dominoes that fit the material I had on hand. All that was needed to create each individual number value was to delete the unnecessary circles – a fast and easy process.
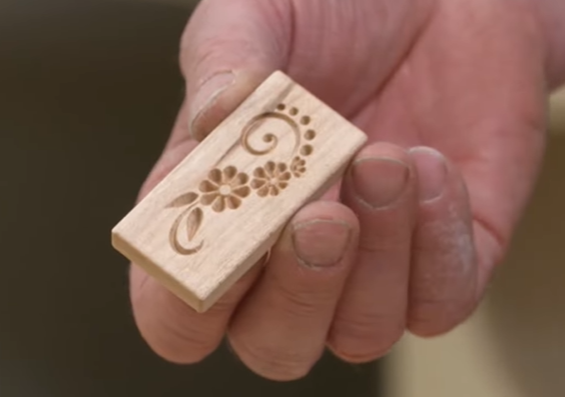
Carving a floral design on the back of each domino is a nice touch for a handmade set, however this requires two-sided milling, the next challenge. The trick to easy two-sided work is to use the centering tool that locates the drawing precisely in the center of the material along with a pair of locating holes placed symmetrically to the center lines. Cut the number values on one side of the material, flip it over, use the locating holes to register the exact location for the material, and you’ve got perfect placement for the carvings.
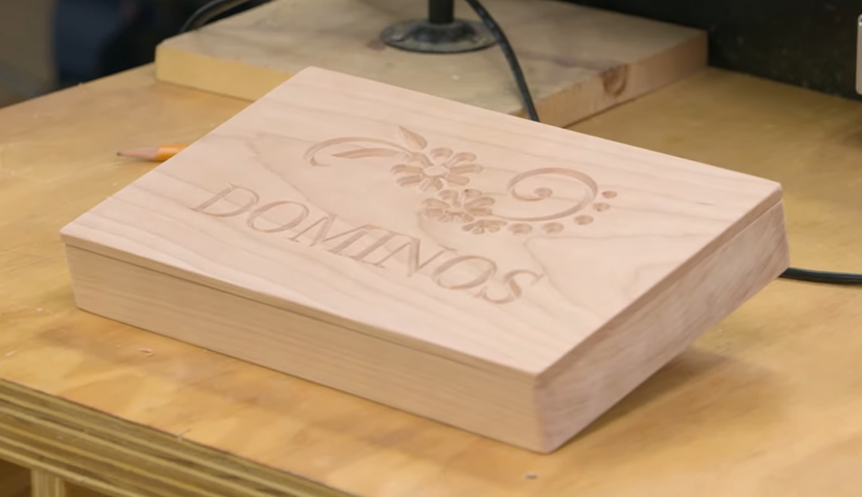
Finally, you will make a simple but elegant box out of a solid block with a top featuring our floral design. This is a fun project and a great gift, so find some special wood and let’s get started.


