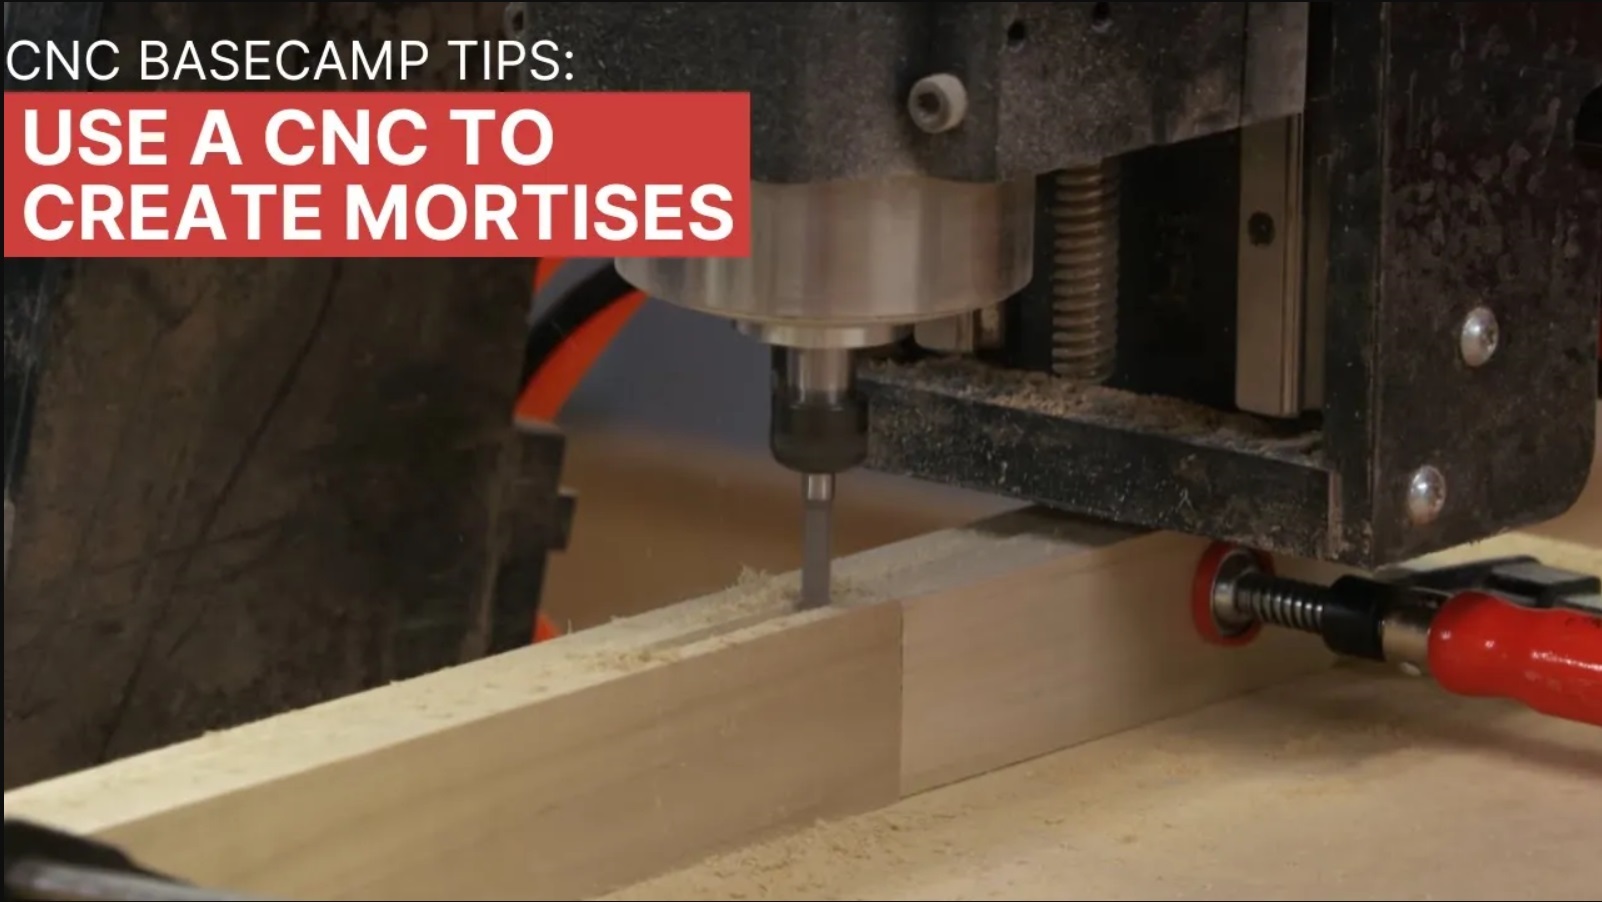
Straight Bits Rule I’ve tried a lot of different router bits with our CNC routers over the last few years, upcut, downcut, compression, single-flute, two-flute, three-flute, coated, uncoated, large and small, long and short. You’ve got to have specialty bits for certain materials and situations, but my go to bits for 90% of cutting operations are a ¼” and a 1/8” straight bit, each with a short length of cut. These bits produce smooth cuts, are versatile, tough and reasonably priced. Check your bits before use and know when to say goodbye -they only work well when sharp. Note: Top quality bits will be the diameter stated, however hobby grade bits can be surprisingly smaller than the stated size. This can cause all sorts of grief with parts that don’t fit, so when a project demands accuracy, get out your calipers and verify the bit diameter.
Faster Feeds and Slower Speeds Save Bits It’s never a good feeling when you look at that expensive router bit in your CNC machine and see that it is black from heat. Using the correct feed and speed is super important. It ensures the best possible finish on the cut and allows you to get the full life from an expensive router bit. To arrive at the correct feed and speed numbers there are chip load formulas. I have tried to use the formulas and carefully apply the numbers but it’s tough with hobby machines and small projects. Nearly two dozen episodes has taught me to use the rule of ½ the bit diameter for the depth of cut, use a spindle speed between 15,000 and 16,000 RPM and a feed rate of 110-120 IPM for solid wood, plywood and MDF - the chips are big, the bit stays cool, and the job gets done. So, no babying the bit... push it along and make it work!
Deal with the Dust I find it frustrating, and a bit depressing to go into my shop and realize that everything is coated by fine dust. The first rule of dust control is to eliminate processes that create the dust in the first place – that’s a tough one with a CNC router. The second rule of dust control is to capture the dust at the source. That I can do something about. The dust boots I have all seem clumsy and ineffective or just get in the way. My plan for this year is to design dust boots that don’t go up and down with the Z axis but remain a fixed height off of the work piece, are small in size so that they won’t bump into hold downs and will work with a dust collector rather than a vacuum cleaner – definitely a challenge!
Pre-flight Checklist We have all been there. You start a cutting routine and the machine slams into its extents, a bit goes into the material unexpectedly deep and breaks, the bit chews up a hold down, or the material shifts during cutting. Things go wrong and the outcome is not what we planned. Anyone who thinks CNC woodworking is risk-free or brain-free woodworking has clearly never done it. I’ve been able to eliminate some of these moments by going through a checklist:
Use the preview feature in your toolpath software – make sure it is showing what you have planned.
- Use the preview feature in your toolpath software – make sure it is showing what you have planned.
- Do I have the XY datum point set correctly? Sometimes I use the center, sometimes the lower left, and sometimes I forget which I chose.
- Will the bit and dust boot clear the hold downs, screws or registration blocks? Air cutting can help find trouble before it happens.
- Is the material secure? Hold downs, screws, wood blocks and hot melt glue can help.
- Do I have the plywood’s grain oriented correctly?
- Did I remember to re-Zero the bit after changing it out?
Efficiency Matters Watching a CNC machine dance over a work piece and transform it is exciting, but after many hours of noise, what’s exciting is when the machine shuts down and you can take off your hearing protection and get busy building. Here are some steps I take to maximize efficiency:
- Plan the order in which you cut parts to minimize bit changes.
- Use the full format size of your machine and maximize the number of parts on a workpiece, doing so means less set up time, less start up time and less baby-sitting the machine.
- Use the Time Estimator in your toolpath software. I am often surprised at how small tweaks in bit depth or percentage of overlap can cut machining times by over half – so work with the variables. The best results are often not the most time consuming.
If I were to list one more item that I’ve learned, it would be how limitless the possibilities are in the world of CNC woodworking. It has proven to be fun, exciting and endlessly entertaining. I’m looking forward to more CNC Basecamp episodes for years to come.


