
A well-cut woodworking joint is only part of what makes a project strong. In many joints, wood glue is what turns accurately fitted parts into a durable assembly that can withstand years of use.
But simply adding more glue doesn't necessarily create a stronger joint. Good results depend on several factors working together: the mating surfaces need to fit properly, the glue needs to cover the right surfaces, and the joint needs to be clamped correctly while the glue sets.
The exact approach can also change depending on the joint. Gluing a mortise and tenon requires a different technique than edge-gluing boards or assembling a lap joint.
Understanding a few basic principles will help you get a strong, consistent glue joint no matter what type of woodworking joinery you're assembling.

How Wood Glue Creates a Strong Joint
Most furniture and woodworking projects are assembled with PVA (polyvinyl acetate) wood glue, commonly sold as yellow or white woodworking glue.
For practical purposes, what matters is that the glue needs intimate contact with the wood surfaces. It wets the surface, interacts with the wood, and penetrates into its porous structure. As the glue cures, it creates a strong bond between the mating parts.
That's why preparing and fitting the joint correctly matters so much.
A thick layer of glue shouldn't be viewed as a substitute for accurate joinery. The goal is to create well-fitting wood surfaces with a thin, continuous glue line between them.

A Tight Joint Is Better Than a Glue-Filled Gap
Wood glue works best when the mating surfaces fit closely together.
If a poorly fitted joint leaves large gaps between the parts, simply filling those gaps with ordinary PVA wood glue won't restore the strength you would have had with properly fitted joinery.
This is particularly important with joints such as mortise and tenons, where the fit of the mating parts contributes significantly to the quality of the glue joint.
The 3 Essentials of a Strong Wood Glue Joint
Although different woodworking joints require slightly different assembly techniques, three fundamentals apply to nearly all of them:
A good fit, proper glue coverage, and appropriate clamping pressure.
Get these three things right and you're well on your way to a successful glueup.
1. Start with a Properly Fitted Joint
Before reaching for the glue bottle, dry-fit the joint.
The mating surfaces should be smooth and make good contact. A sloppy joint with large gaps won't be rescued by adding extra glue.
But there's another extreme to avoid: A joint can also fit too tightly.
If assembling a mortise and tenon, for example, you shouldn't have to pound the parts together during a dry fit. Once glue is added, the wood fibers may swell slightly, making an already tight joint even more difficult to assemble.
A useful rule of thumb is hand-pressure snug. The parts should fit closely and securely while still allowing you to assemble the joint without excessive force.
Smooth, Flat Surfaces Matter
Glue can't compensate for poorly prepared mating surfaces.
This becomes especially important with broad joints such as edge joints and lap joints. Ridges, bumps, or uneven surfaces reduce the amount of effective contact between the two pieces.
Before glueup, make sure the mating surfaces are straight, smooth, and properly fitted.
2. Apply the Right Amount of Wood Glue
The next consideration is how much glue to use and where to put it.
Too little glue can leave areas of the joint without adequate coverage. Too much creates unnecessary squeeze-out and can make assembly messier without making the joint stronger.
The goal is a thin, continuous layer of glue across the mating surfaces.
For broad, accessible surfaces, apply a bead and spread the glue into an even film. More complicated joints may require glue to be applied strategically so assembly distributes it across surfaces you can't easily reach.
Make Sure the Entire Joint Gets Glue
Don't assume that squeezing two parts together will automatically distribute glue everywhere it's needed.
Think about what happens as the parts come together.
On an edge joint, you can spread glue directly over the entire mating surface. A mortise and tenon is different because the glue has to reach surfaces hidden inside the mortise.
Tailoring the application method to the joint helps ensure consistent coverage.
3. Clamp the Joint Correctly
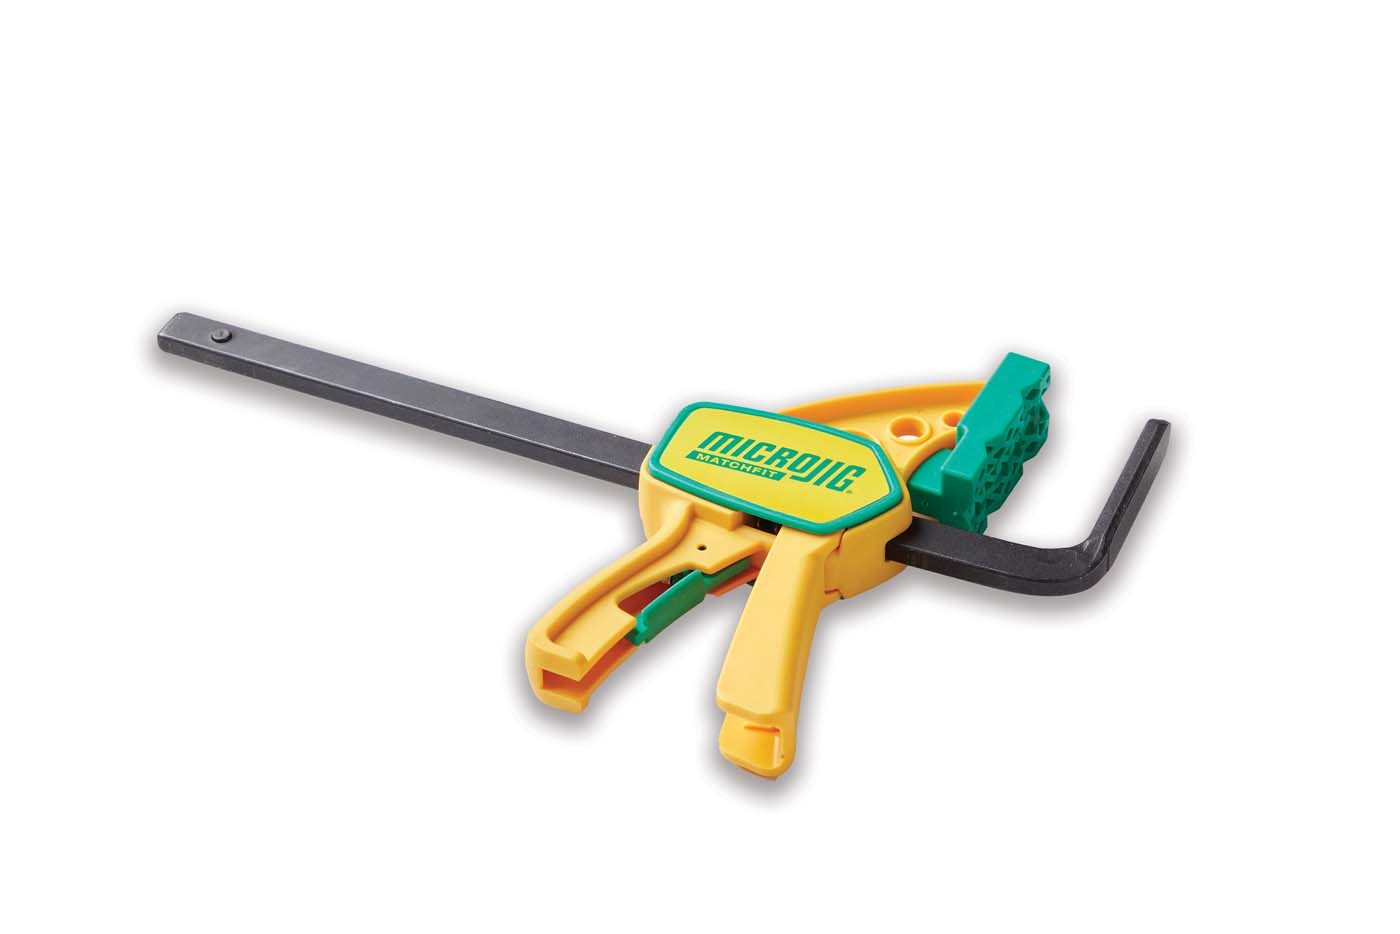
Clamps do more than simply hold a project together until the glue cures.
Clamping brings the mating surfaces into close contact and helps establish the thin, consistent glue line you're after. It also holds the parts in their correct position while the adhesive sets.
The goal isn't necessarily to apply as much pressure as possible. It's to use enough evenly distributed pressure to close the joint and maintain good contact.
Where you put the clamps can be just as important as how tightly you turn them.

How to Glue a Mortise and Tenon Joint
A mortise and tenon joint is a good example of why glue technique needs to match the type of joinery.
The tenon should fit snugly in the mortise without requiring excessive force. Because clamping the assembly mainly pulls the shoulders of the tenon against the mortised workpiece, the fit between the tenon cheeks and mortise walls is especially important.
A clamp can't correct a loose-fitting tenon inside the mortise.

Where to Apply Glue on a Mortise and Tenon
You want glue distributed across the mating surfaces without filling the bottom of the mortise with an excessive amount.
One effective approach is to apply glue near the upper inside surfaces of the mortise and spread glue over the mating surfaces of the tenon.
As the tenon slides into the mortise, the assembly action helps carry and distribute the glue across the joint.
The goal is even coverage on the surfaces that actually form the joint rather than simply pumping glue into the bottom of the mortise.

Clamp the Mortise and Tenon Shoulders Tight
Once assembled, position your clamps so they pull the tenon shoulders tightly against the mortised workpiece.
This closes the visible joint line and keeps the assembly correctly positioned while the glue cures.
Again, the clamp doesn't create the fit between the tenon cheeks and mortise walls. That's why accurately fitting the joint before glueup is so important.
How to Edge-Glue Boards
An edge joint, such as the one used to make a wide solid-wood panel, relies heavily on the quality of the glue bond.
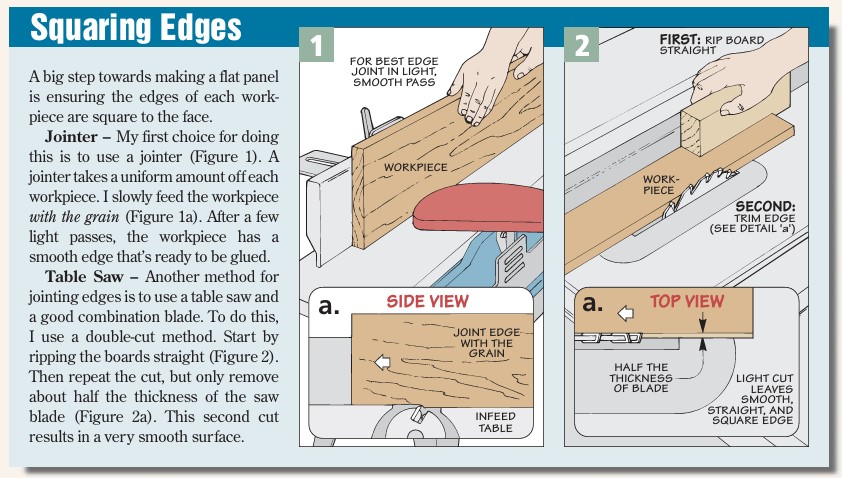
Start with straight, accurately prepared edges. When the boards are brought together, you want continuous wood-to-wood contact along the joint.
Spread Glue Evenly Along the Edge
Apply a continuous bead of wood glue to one mating edge.
Then spread it evenly across the entire surface. The objective is to avoid dry spots while providing consistent coverage from end to end.
Bring the boards together and position them for clamping.
Space Clamps Evenly Across the Glueup
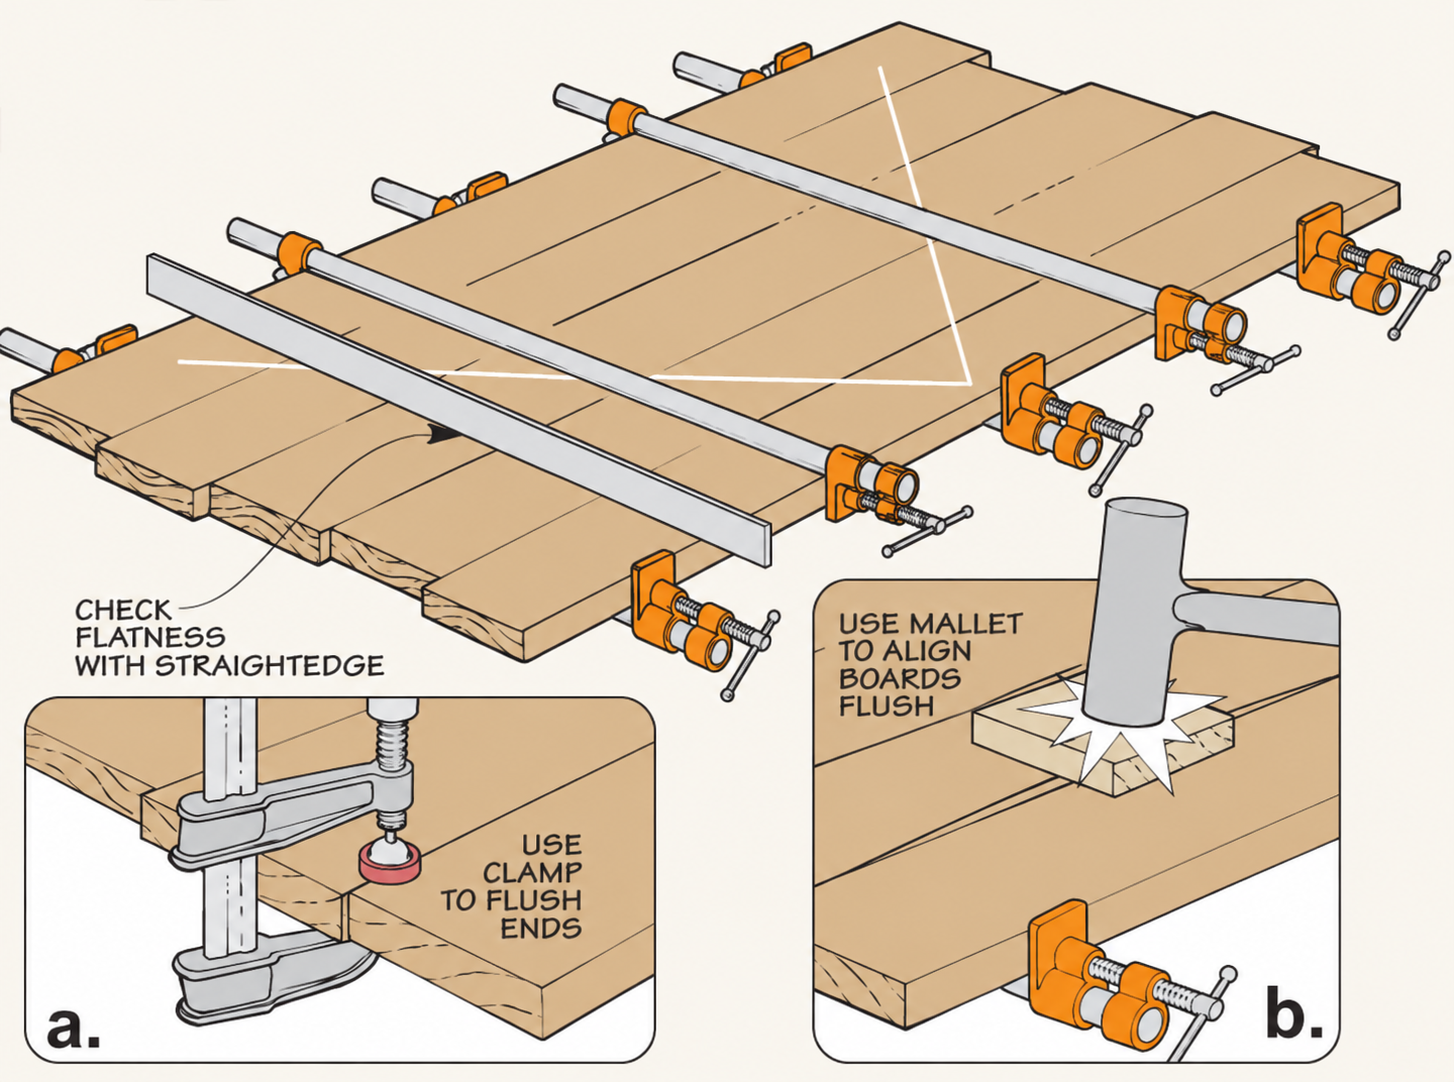
Use clamps along the length of the panel so pressure is distributed across the entire joint.
Rather than concentrating all the pressure in a few locations, space the clamps closely enough that the areas of pressure overlap.
For wider assemblies, alternating clamps above and below the panel can also help balance the forces and keep the glueup flatter.
Tighten the clamps until the joint closes consistently along its length. There's no benefit to continuing to crank down excessively once the mating edges are fully seated.
How to Glue a Lap Joint
A lap joint provides a large amount of face-to-face glue surface, which can make it very strong. But taking advantage of that surface area requires good contact between the two halves.
The mating faces should be smooth and flat. Ridges or uneven surfaces can prevent the pieces from seating properly and reduce the effective glue area.

Spread Glue Across the Mating Surface
Unlike a mortise and tenon, there's very little sliding action during assembly to distribute the glue.
Instead, spread an even layer of glue across the mating face before bringing the two halves together.
This ensures that the full overlapping area contributes to the glue bond.
Apply Clamping Pressure Across the Joint
This is an easy detail to overlook.
Clamps positioned along the length of the workpieces may pull the shoulders of the lap joint together, but they don't necessarily apply pressure across the broad mating faces.
Add a clamp directly across the overlapping halves of the joint. This brings the glued surfaces into close contact and helps establish an even glue line.
Common Wood Glue Mistakes to Avoid
Most glueup problems aren't caused by the glue itself. They usually come from preparation, application, or clamping.
A few mistakes are particularly worth watching for.
Using Extra Glue to Fix a Loose Joint
Ordinary wood glue isn't a substitute for properly fitted joinery. If you have a significant gap, correct the fit rather than simply filling the space with more PVA glue.
Making the Joint Too Tight
A joint that needs to be hammered together dry may become even more difficult to assemble after glue is applied.
Aim for a snug fit that can be assembled with reasonable hand pressure.
Leaving Areas Without Glue
Make sure all the important mating surfaces receive adequate coverage, particularly on complicated joints where some surfaces become inaccessible during assembly.
Using Too Few Clamps
A couple of heavily tightened clamps aren't always as effective as several clamps applying well-distributed pressure.
Think about where the joint actually needs pressure and position the clamps accordingly.
Overtightening the Clamps
More pressure isn't automatically better.
Once the joint is fully closed and the mating surfaces are firmly in contact, excessive clamping force doesn't improve the fit. It can distort an assembly or make it more difficult to keep parts aligned.
The Key to Stronger Wood Glue Joints
A successful glueup starts long before you open the glue bottle.
First, make sure the joint fits properly and the mating surfaces make good contact. Then apply enough glue to create an even, continuous layer across the surfaces that matter. Finally, use clamps where they're needed to close the joint and maintain consistent contact while the glue cures.
The details will change depending on whether you're assembling a mortise and tenon, edge-gluing a panel, or gluing a lap joint, but the basic principles remain the same.
Get the fit, glue coverage, and clamping right, and the careful work you put into making the joint won't go to waste.