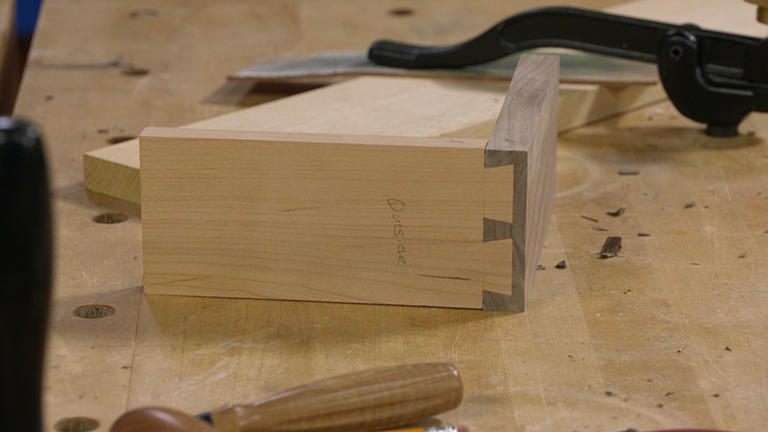
When it comes to hand-cut joinery, most woodworkers think of dovetails. But there’s another traditional joint that’s less intimidating to master — tenons. Cutting tenons by hand builds skills like making accurate layouts and cutting straight and square.

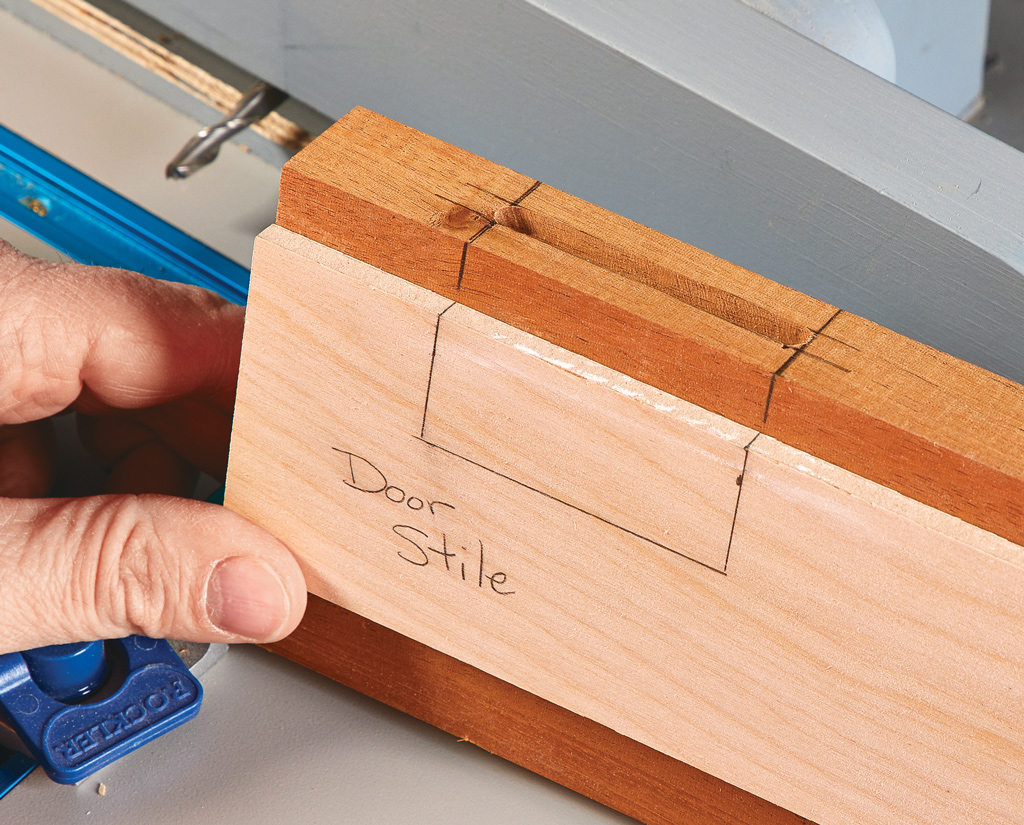
Cutting a tenon begins with an accurate layout. The layout serves as a road map for the saw cuts. It’s a good idea to have the mortises complete before you get started. This way, you have a reference to lay out each tenon. Begin by marking the thickness and width of the tenon on the end of the workpiece. It’s a good idea to lay out the marks so the tenon ends up just a hair larger than the mortise. This avoids the problem of ending up with a tenon that’s too small. And it won’t take much time to fine-tune the tenon for a perfect fit later on.

The next step is to mark the length of the tenon. Here I do things a little different. I like to use a cutting gauge. The scored line creates a starting point for the saw. This results in a cleaner line at the shoulder when the joint is assembled. The final layout step is to carry the marks from the end of the workpiece across the faces and edges.

With the layout complete, you can start cutting. And the tool for this job is a medium-sized back saw. The stiff back helps keep the blade traveling straight during the cut. Although you can buy an expensive, specialty saw, an inexpensive pull saw like the one shown here will do the job just fine. The first cuts define the shoulders. The scored lines make it easy to align the saw. Place the saw in the scored line and start cutting. Keep the saw level to avoid cutting past the layout lines. Stop when the saw teeth just contact the layout lines on the front and back.

The next cuts will form the cheeks. The key to great results is getting a good start. By tilting the workpiece (as shown in the first slide), I can use the layout lines on the end and face to cut straight and square. Once the kerf is established, lower the front of the saw and cut parallel to the shoulder line. As you approach the shoulder line, slow down and make a few light strokes until the waste piece just falls away. Repeat the process for the opposite tenon cheek. After making two cuts, you’ll need to re-mark the layout lines on the freshly cut faces. Then after two more cuts, the tenon is complete. Now it’s time for a test fit. Since the tenon was cut slightly oversize, you’ll need to do some fitting. Your goal is a tenon that can be slipped into the mortise with hand pressure.


