One of the hardest working parts of a home is the entryway. It’s a transition point where you’re either preparing to leave or preparing to be home. Elaborate mudrooms and entryways make splashy photos on real estate sites and magazines. But a lot of homes don’t have that kind of space.
On this episode, we take a look at two compact projects that can upgrade your entry. The first is an Arts & Crafts inspired coat tree. A lot of coat trees use a single, thick trunk as the center column. This one splits the column into four, smaller uprights. There’s a fun visual effect that takes place. Light shines through the gaps, and shadows play in the recesses.
 The construction and joinery details play off the look through tenons common to many Arts & Crafts furniture. True to the tree name, the coat hooks sprout like branches at the top and the feet mimic the root flare at the base of a tree.
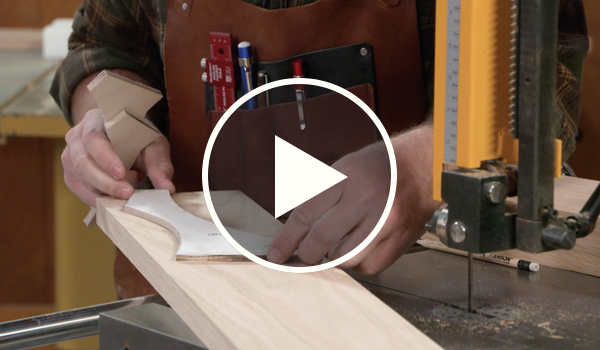
The big lesson in this project is how Logan steps through the process of making multiples. He uses a template to lay out, cut, and trim hooks and feet to identical sizes. Changing grain direction can make the flush trimming step challenging. We have a flush trim bit that has a bearing on the shank end as well as the tip. This bit allows you to flip the workpiece so the bit doesn’t cause tearout.
Watch the Episode: If the Woodsmith Shop isn’t on in your area, contact your local public television station. Or stream it here.
Download the Plan for this episode.
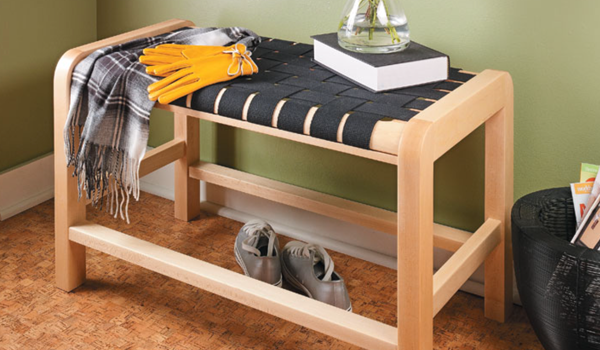 The other project is a bench with a woven seat. Like the coat tree, the structure and the webbing create open spaces that keep the project from feeling large and heavy. This project is a study in making solid mortise and tenon joinery. I demonstrate a two-part mortising technique. First, remove most of the waste using a Forstner bit in the drill press. Secondly, clean up the corners and sides of the mortise with a chisel.
A common miscue in the technique is walking away from the drill press too soon. Because a Forstner bit can drill overlapping holes, you should use that to create mortise walls that are pretty smooth. Which means all you need to do is square up the corner (if you wish).
I like to do this in a series of passes. In the first pass, the holes barely overlap. Then you can go back and nibble away the ridges that remain. A third pass addresses the resulting nibs. And so on. It sounds time consuming, but it's not. It's faster and more consistent than chisel work.
 BONUS TIPS:
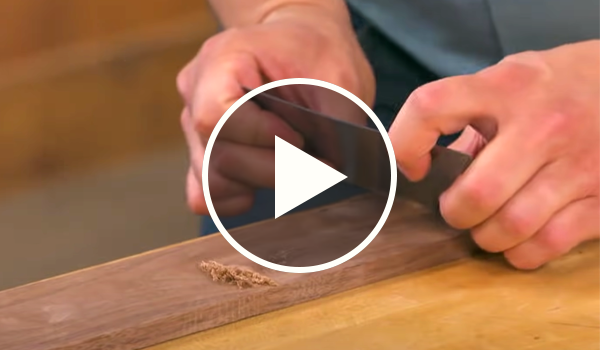
This thin steel tool works like a magic eraser to clean up blade marks, smooth curves, and lets you skip a lot of sanding while creating smooth surfaces.
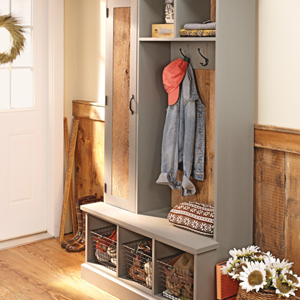 Create an organized landing zone for a family’s worth of gear. This welcoming hall bench has four storage options keep your entryway tidy. Common materials and robust joinery make it fun to build.
The bench in the episode is made from hard maple. Learn why this species is so important for building projects in this online article.
