Despite what my shop may look like on any given day, I’m mesmerized by well-designed toolboxes, totes, and organizers. The idea of having the tools and gear I use and need tucked away and ready to use conjures images of best craftsmanship.
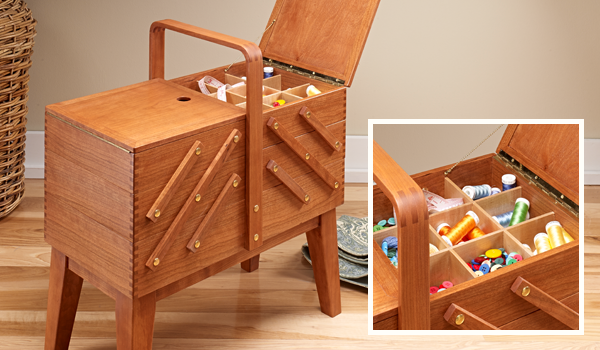
It’s not just woodworking tools, either. The craft center in this episode was inspired by a vintage sewing box that belongs to one of my sisters-in-law. The array of swing-out trays just speaks well-ordered. Even the tidy rows of box joints joining the parts seems to inspire tidiness.
Sometimes a label limits possibility. While the model is used as a sewing box, this organizer has so many other applications. I could see it holding picture-hanging supplies, or fly-tying essentials … maybe some paper crafts or card game storage.
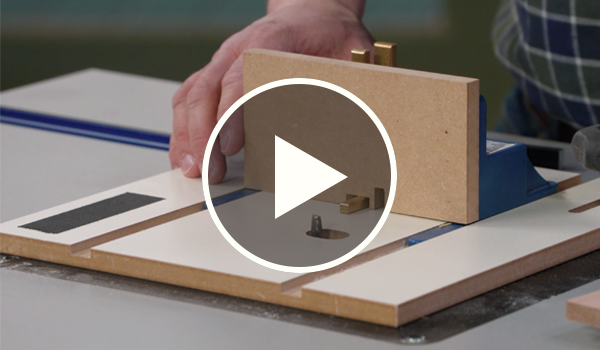
 Beyond its practical function, one of the lessons this project teaches is using a router table jig to cut the box joints. I lean heavy in favor of router cut joinery (compared to the table saw — just a personal preference). A router bit leaves a clean, square slot for small sized joints like these. The commercial jig I show works well, but you can make one yourself, too.
 Take the craft center to another level by adding a stand, then making some simple dividers for the inside. The open mortise and tenon joinery technique Logan uses, is a nice option for small tables and even doors.
Watch the Episode: If the Woodsmith Shop isn’t on in your area, contact your local public television station. Or stream it here.
Download the Plan for this episode.
 BONUS TIPS:
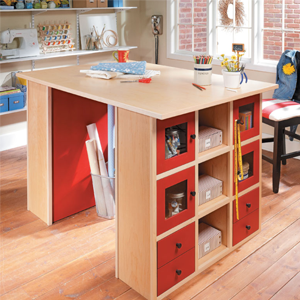
While I want as many folk interested in woodworking, there are other crafts worthy of attention, too. And having a dedicated space to practice, like this modular craft table, is a good start.
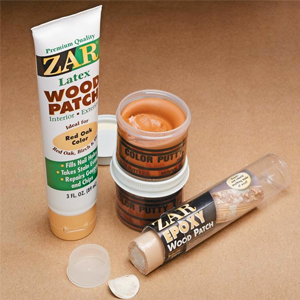
The first lessons I learned when I started at Woodsmith is how to disguise flaws. Our projects have to look great in photos and video. The shop builders do outstanding work … and they know how to conceal blemishes and fill gaps. Now you can too.


