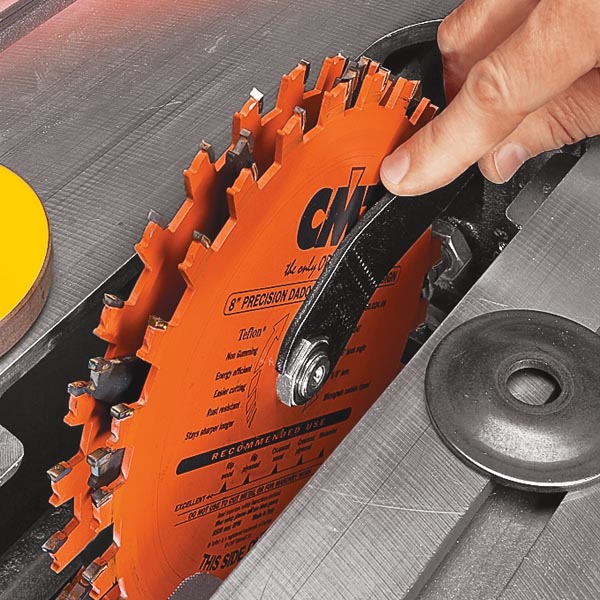
If you took a vote for the number one table saw accessory, I would bet a stack dado blade would win in a landslide. It’s easy to see why. A dado blade transforms your table saw from a simple cutting tool to a precision joinery machine for cutting dadoes, grooves, rabbets, tenons, and more.
The basic function of a dado blade is to cut an extra-wide kerf. And although it’s called a dado "blade," it’s actually a set of blades, chippers, and shims. By mixing and matching the different pieces of the set, you can create kerfs ranging from l/4" up to 13/16" wide.
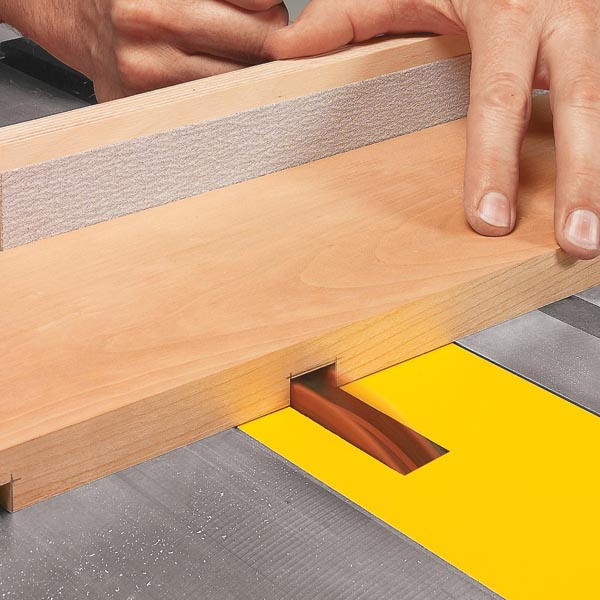
One of the keys to great results with a dado blade is getting it set up right in your table saw. And with all the parts, it’s easy to get tripped up the first few times. As you set each blade in place, nestle the teeth in the gullets of the blades on either side. This prevents the teeth from chipping or changing the width of the dado.
For easy access, raise the arbor to its highest point and set the first scoring blade in place.
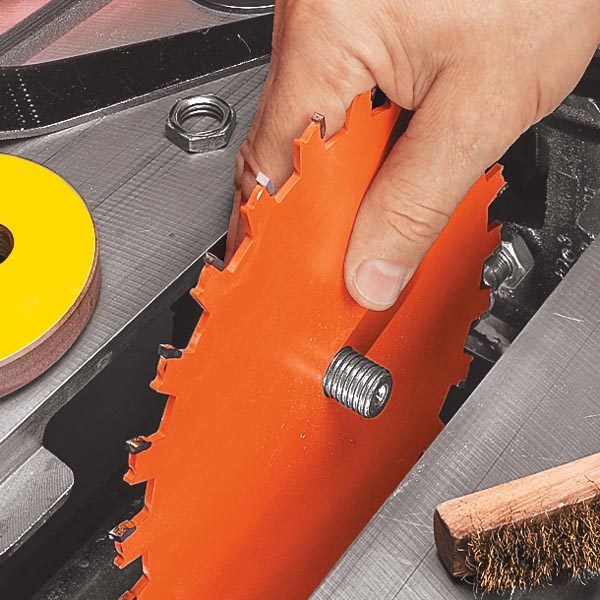
To avoid gaps in the dado, avoid placing more than two shims in one location.
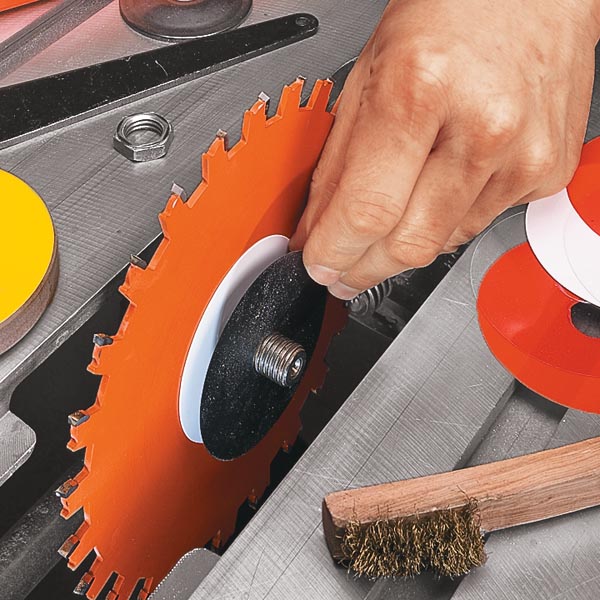
Stagger the chippers so the carbide teeth won’t contact adjacent blades.
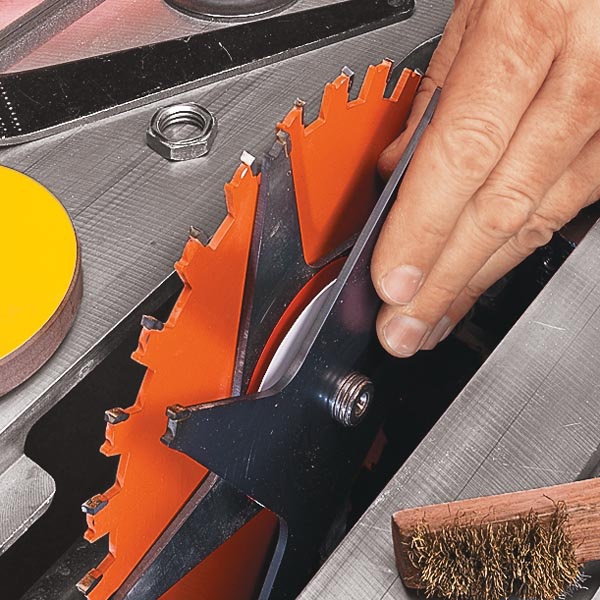
Install the other scoring blade and double check the setup for proper installation.
The nut should fully thread onto arbor. For wide setups, you may need to exclude the washer.
Note: A full-width dado stack may not fit on some saws. Only use a wide setup if the nut can be fully threaded on the arbor.
In a short time, using a dado blade will become second nature. And you’ll wonder how you ever got along without one.
