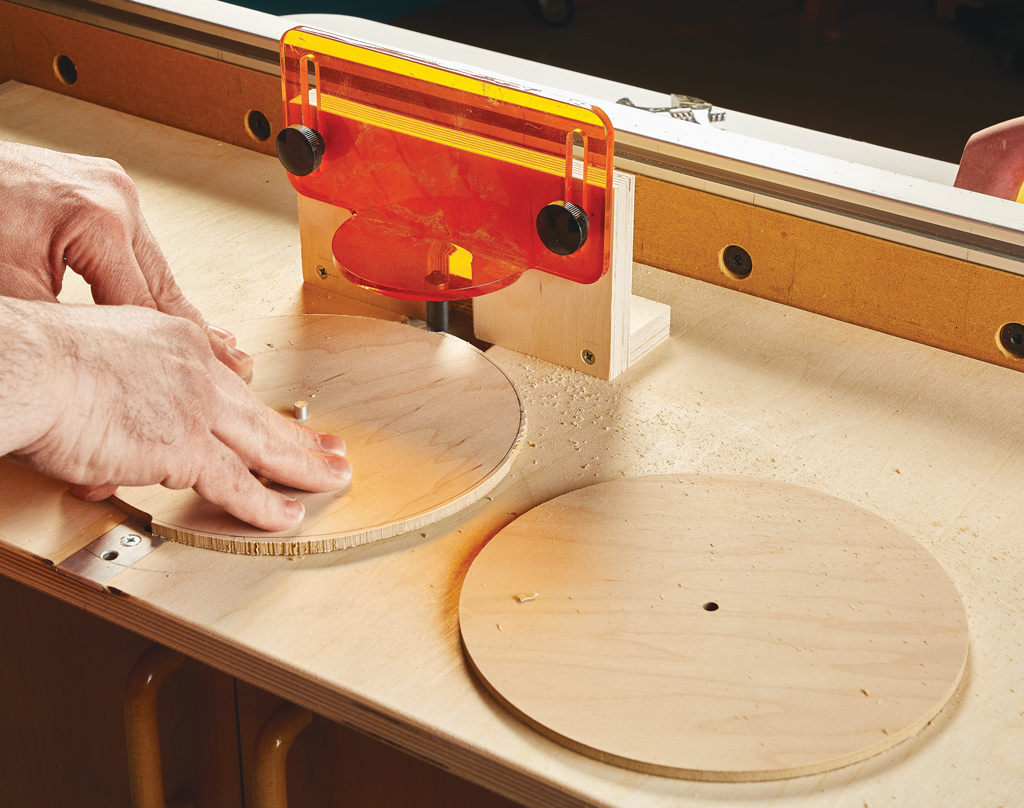
Creating an accurate, straight groove is a simple operation. You often have a choice of ways to do the job. But what about a groove that needs to follow precise curves — like the track for the tambour door of the tool cabinet on page 32? In my experience, your option here usually comes down to one technique — template routing.
THE BASIC CONCEPT. For a technique that produces such consistently good results, template routing is easy to understand and execute. The photo above and the drawing below illustrate how it works.

First, you make a routing template in the shape of the groove you wish to create. Then a guide bushing is installed in the router baseplate with the protruding collar centered on the bit. When routing the groove, the baseplate of the router rides on the surface of the template while the collar of the bushing glides along its edge.
The collar easily follows inside and outside curves to produce a perfectly shaped groove. The technique worked great for the tambour track, but can also be applied in other situations like adding a “juice” groove to a cutting board, or decorative inlays, for example.
AN OFFSET TEMPLATE. As you can see, the guide bushing, template, and router bit act in partnership. But there’s one important consideration you need to be aware of to get the correct result.

By necessity, the outside diameter of the bushing collar is larger than the cutting diameter of the bit. This creates clearance for the bit to fit through the bushing.
In practice, this means that when the bushing collar follows the edge of the template, the cut made by the bit is offset from the edge of the template. The amount of offset depends on the difference between the cutting radius of the bit and the radius of the collar.
The upshot is that in order to rout a groove of the correct shape, you need to take this offset into account when making the template. This applies to both the straight lines and any curved lines or radii. I’ll give you more details when I take you through the step-by-step process of routing the tambour track grooves on the following page.
routing a TAMBOUR TRACK
Before you can rout the mirrorimage grooves in the cabinet sides, you’ll need to have an accurately sized template. I made mine out of 1 ⁄ 2 " MDF. It’s easy to shape and holds a smooth, hard edge.

SIZING THE TEMPLATE. To rout the 3 ⁄ 8 "-wide groove, I used a 3 ⁄ 8 "-dia. straight bit. I paired this bit with a guide bushing that had a 5 ⁄ 8 " outside diameter. This 1 ⁄ 4 " difference gave me a 1 ⁄ 8 " offset between the template and the cut.
Since I would be cutting around the outside, I made the template 1 ⁄ 8 " smaller than the final shape of the groove all around. This means that the two upper outside radii should be 1 ⁄ 8 " less and the inside radius at the rear 1 ⁄ 8 " greater.
But you don’t need to worry about figuring this out. All you need to do is make your template to the dimensions shown on the pattern at right. Extra time spent making a precise template will pay dividends. The cut only takes a minute and will only reflect the accuracy of the template.

ATTACHING THE TEMPLATE. Since the two grooves are mirror images, you’ll flip the template over between routing the two sides. The template needs to be attached firmly and positioned properly. Clamps will interfere with the travel of the router so I suggest using doublesided tape to attach it. I sized the template so that the lower end would be flush with the end of the side. Then I used a combination square to position it parallel to the front edge of the side (Figure 1).
MAKING THE CUTS. I adjusted the bit to cut the relatively small groove in a single pass. This way, you’ll avoid creating a “stepped” groove when you readjust the bit height.

You want to rout around the template in a counterclockwise direction. The cutting action of the bit will pull the rub collar against the template for easier control. This means you’ll start the two grooves at opposite ends. For the left side cut, enter through the back rabbet (Figure 2). The right side groove is started with a careful plunge cut in the dado for the upper divider at the front of the case.
A FEW TIPS. Only about half the baseplate of the router is riding on the template. So you’ll need to concentrate on the keeping the router flat and avoid tipping it.

At the same time, you need to keep the collar snug to the edge of the template and the router moving steadily. If you feed too slowly or stop, you’ll get burning or possibly even a “bump” in the groove. You might want to rout a test groove just to get a good feel for it before working on the actual case sides.
The front section of the groove will be exposed. So when routing both grooves, I positioned the case side with the front edge nearest me. This will give you a little better control and you can more clearly see where to start and stop the cuts along the front.
ENTRY CHANNEL. Once the main groove is routed, the lower rear section needs to be opened up to create a wider entry channel for the tambour (detail ‘a’ below). To do this, I simply repositioned the template and used it as a guide to nibble away the waste, as in the main drawing below. Then all that’s left is a little sanding to clean up the groove. I guarantee that once you try it, template routing will earn a permanent spot on your list of top techniques.


