Most project parts are straight and square. There isn’t much to them that a jointer, planer, and table saw can’t handle. But other times, a project might be made up of curved or irregularly shaped parts. And what’s more, several of these parts need to match perfectly. That’s when template routing those workpieces to shape becomes your best option.
WHAT IS TEMPLATE ROUTING? As far as techniques go, template routing is a pretty simple concept. When you need to make a number of identical pieces, you start by creating a “master shape,” or template. After that, the first step is to get the other pieces close to the right shape. Then you can use the template paired with a flush-trim bit mounted in a router table to finish the job.
MAKE THE TEMPLATE.
This process begins, of course, with making the template. It’s critical that the template remain flat and stable while you work, so materials like acrylic, hardboard, or MDF are your best choices (photo, above). I prefer 1⁄4" hardboard because it’s the least expensive option.
Next, you need to lay out the shape you want to cut on the template. Depending on the project at hand, you might do this freehand, or use a paper pattern if you’re going from a woodworking plan. In this case, you can apply the paper directly to the template blank with spray adhesive.

Since the template dictates the shape and size of all the parts you’ll create with it, it’s important to take a little time to get it right. Luckily, this isn’t difficult. Start by cutting the template out, slightly outside the layout line, on a band saw (photo above).
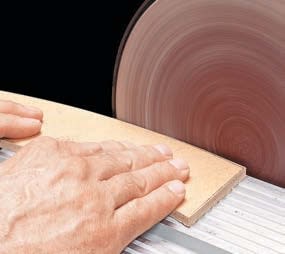
Then, use a sander to sneak up to the line and shape the template to final size (photo below). If your template has any sharp corners, you can rely on chisels, files, and rasps to cleanly establish those details.

ROUGH-CUT PROJECT PARTS. Once you’re happy with the shape and size of the template, it’s time to turn your attention to the project parts. Here again, the band saw is the tool of choice for prepping these, and the process is easy. First, use the template to trace the shape onto the part (first photo below). Then, take it to the band saw, and once again cut out the part, staying slightly outside the layout lines (second photo below). You can repeat this process for all of the parts that you need to make.


ROUT IT OUT. Now you’re just about ready to trim the parts to their final size through the template routing process. Personally, I like to use a router table, but there are times when a piece might be too large. Other times, you may have a specialty template routing procedure, like routing an opening in the middle of a workpiece. In these instances, you’ll want to refer to the box below for methods of template routing with a hand-held router.
On a router table, though, the template routing process is pretty straightforward. You’ll want to start by attaching the template to the rough-cut workpiece. For a secure hold that’s still easy to remove later, I use double-sided tape (photo below).

The actual routing process is simple First, set the flush-trim bit at a height so the bearing rides against the template, as shown in the photo at the top of this post. Now turn on the router, engage the workpiece carefully with the bit, and rout slowly around the shape of the piece in a clockwise direction.
PRECISE RESULTS GUARANTEED. Once you have trimmed the first workpiece, carefully remove the template and apply it to the next workpiece you plan to rout. In the end, the template will ensure that all your project parts are exactly the same, no matter what shape you’re creating.
How-To: Hand-Held Template Routing
I like the control you get from template routing on a router table. But there are some cases, such as plunge cuts or large workpieces, where it’s not possible.

GUIDE BUSHINGS. In these instances, you can template rout using a hand-held router. One tried-andtrue method is using a straight bit paired with a guide bushing.

Guide bushings are great for plunge cuts or routing a groove for inlays. The only issue is that there is always an offset between the edge of the bushing and the bit. That means you’ll need to account for this offset so that your piece will end up the correct size (drawing above).
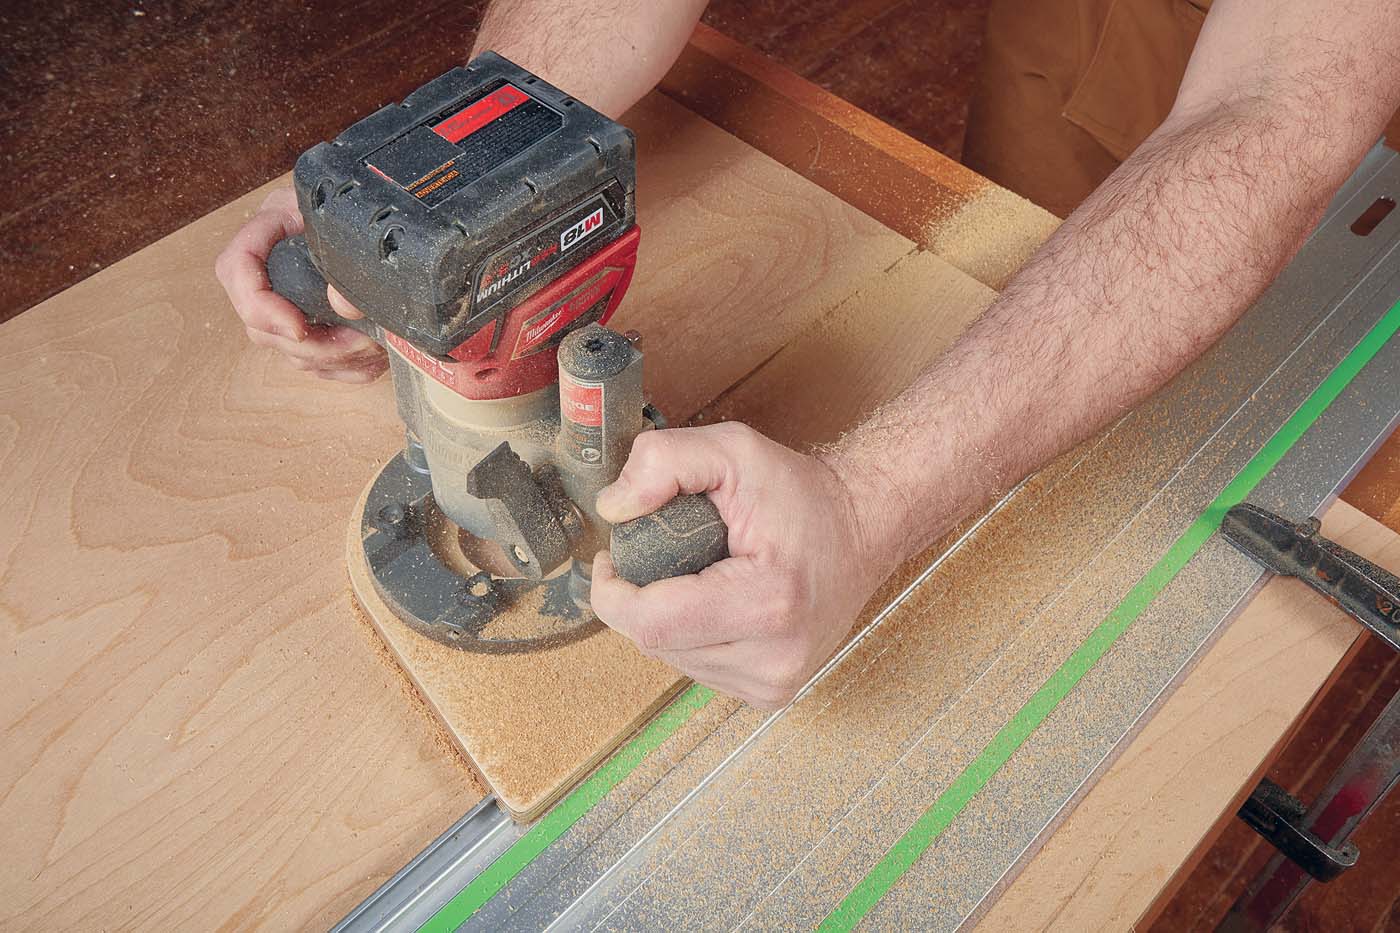
PATTERN BIT. The other option is a pattern bit. It’s sort of like a flush-trim bit in reverse in that the bearing is right above the cutting edges (right). This allows you to use a hand-held router with the template attached to the top of the workpiece.


The one drawback to a pattern bit is that the cutting edges of the bit extend down past the workpiece (drawing above). This means you need to clamp the workpiece so it overhangs the edge of your worksurface to prevent damage.


