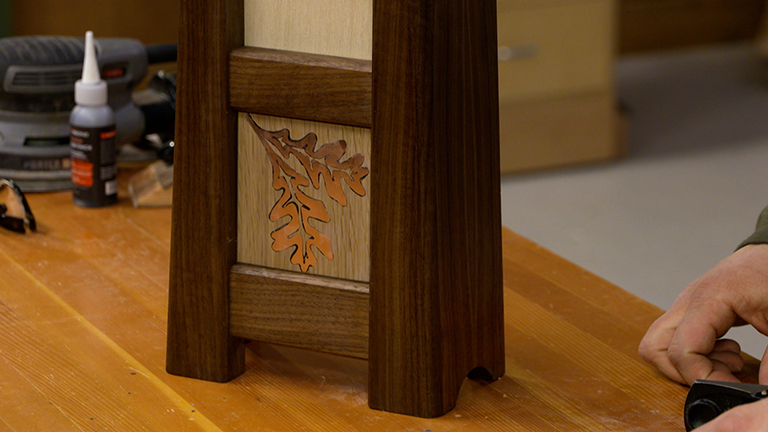
When building chairs, there are tasks that are familiar to many furniture-making woodworkers: cutting parts to size and joinery come to mind. It's when the steps take a free-form turn that can cause some anxiety. Woodsmith has shown a few chairs in recent years that have sculpted seats. It started with the Welsh stick chair. Then a kitchen chair and most recently the rocking chair.

In the magazine plans, we showed a power tool option with a carving disc in an angle grinder. Shop manager, Marc Hopkins felt more comfortable with this process. Not everyone (myself included) have an angle grinder nor an inclination to go this route. I like using hand tools ... and already have a small selection of carving tools that are applicable for the task at hand.
In an episode of the Woodsmith Shop, we built the stick chair. Chris Fitch used hand tools to shape the curved seat. We didn't have a lot of time to show how he worked. The video with this article shows a little more of the process.
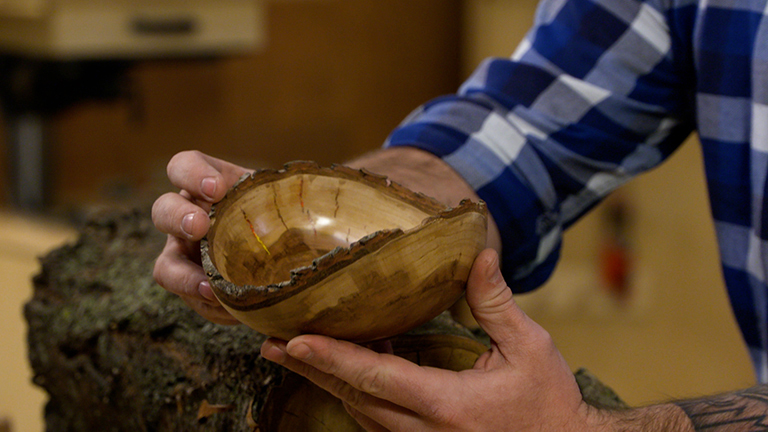
In addition, I've been working on a shop stool with a curved seat. I took a few photos during the process. While it isn't the same shape as the seat, the principles apply no matter the final shape. Oddly enough, some of these skills I learned while carving bowls in the Swedish style I learned from Dave Fisher's site.

Lay out the seat
The first step is to layout the perimeter of the seat recess. Bold pencil lines are easy to see and keep track of while working. I used a carpenters pencil to draw a circle inset from the edge of the seat.
Establish the depth
It's time to pick up some tools. I use a gouge to make a cut across the grain through the center. I make several passes working down to the final depth in the center.
Another option is to use a Forstner bit to drill depth holes in several places to use as a guide as you shape the recess.
Chris uses a gouge as well to then remove the bulk of the waste. He drives the gouge with a mallet. This allows the gouge to take off large curls of wood. At first this can seem a random process of banging away. Instead, Chris is working in a series of passes across the surface of the seat.

On the round stool seat, I drove the gouge from the outside into the middle. You can see how I worked in lines. After each set of passes, I divided the space between in half to make another pass with the gouge.
This is coarse work. It shouldn't (and won't) look pretty. The furrows grow closer together. In my stool seat, the pattern resembles a flower, sorta.
Refining & refining
I continue with the gouge as long as I can. The goal here is not to remove waste in bulk. The aim here is to ease the transition between each furrow. This means turning one large ridge into a pair of smaller ridges. It's at this point that the final shape emerges, though still rough.
If you have a gouge with a shallower sweep (flatter), you can use that to continue the process of turning ridges into smaller ridges.

The farther you go, the chaos of textures makes following individual ridge lines difficult. A card scraper is what I reach for next. The scraper works across several ridges at a time lowering them to form a smoother surface.

On heavily curved areas, this may require you to flex the scraper drastically. That's a lot of pressure on your thumbs. A scraper with a curved edge helps. The best part is that you don't need to buy one. You can reshape the edge of a straight scraper with a hack saw and file. The edge is sharpened and a hook turned just as you would for a straight edge. I know this sounds dismissive, but once you try it, you'll see it's easier than it looks.
Sand it smooth
Even a card scraper leaves a subtly textured surface behind. That may be what you're looking for. If consistently smooth is the target, then the final stage is some sanding. A 5" random orbit sander will follow shallow curves. Then complete the work with sandpaper and a soft foam block.

While a smooth, comfortable seat is the goal, I find a certain satisfaction in scooping up the big shavings from the gouge work and tossing them in the kindling box for my next backyard fire.