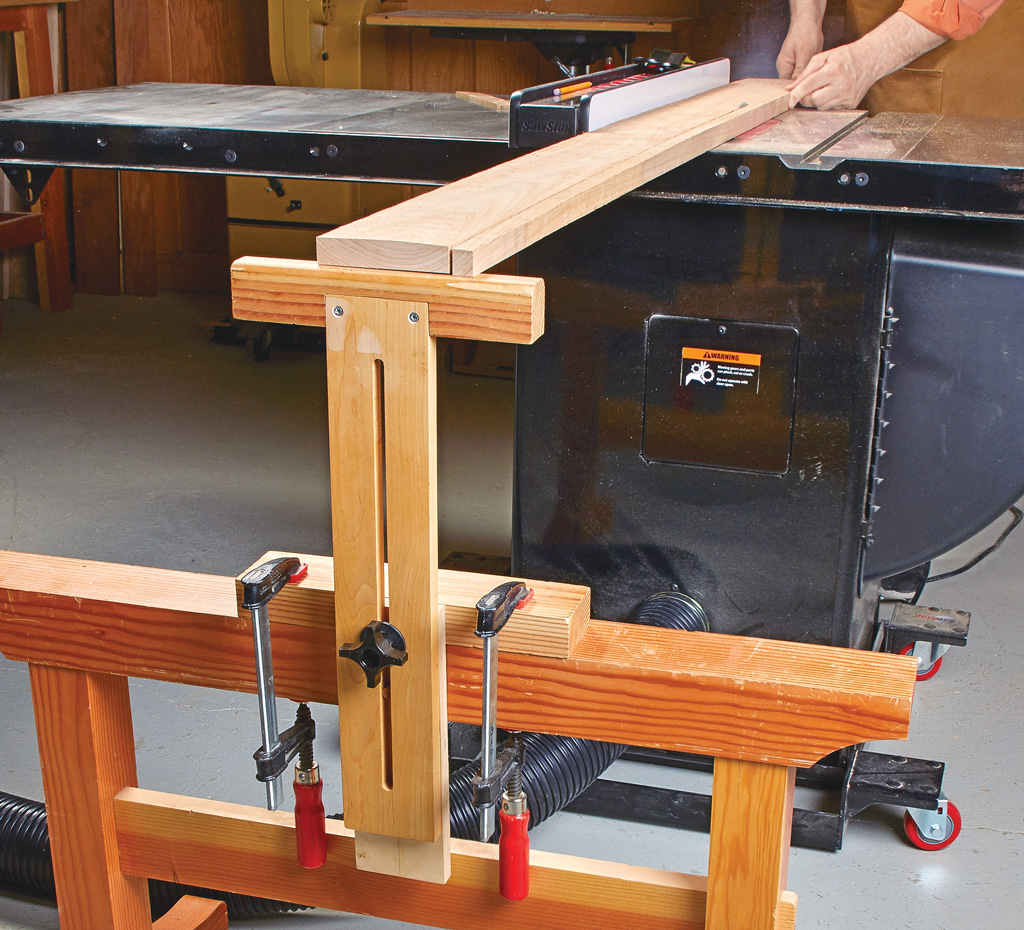
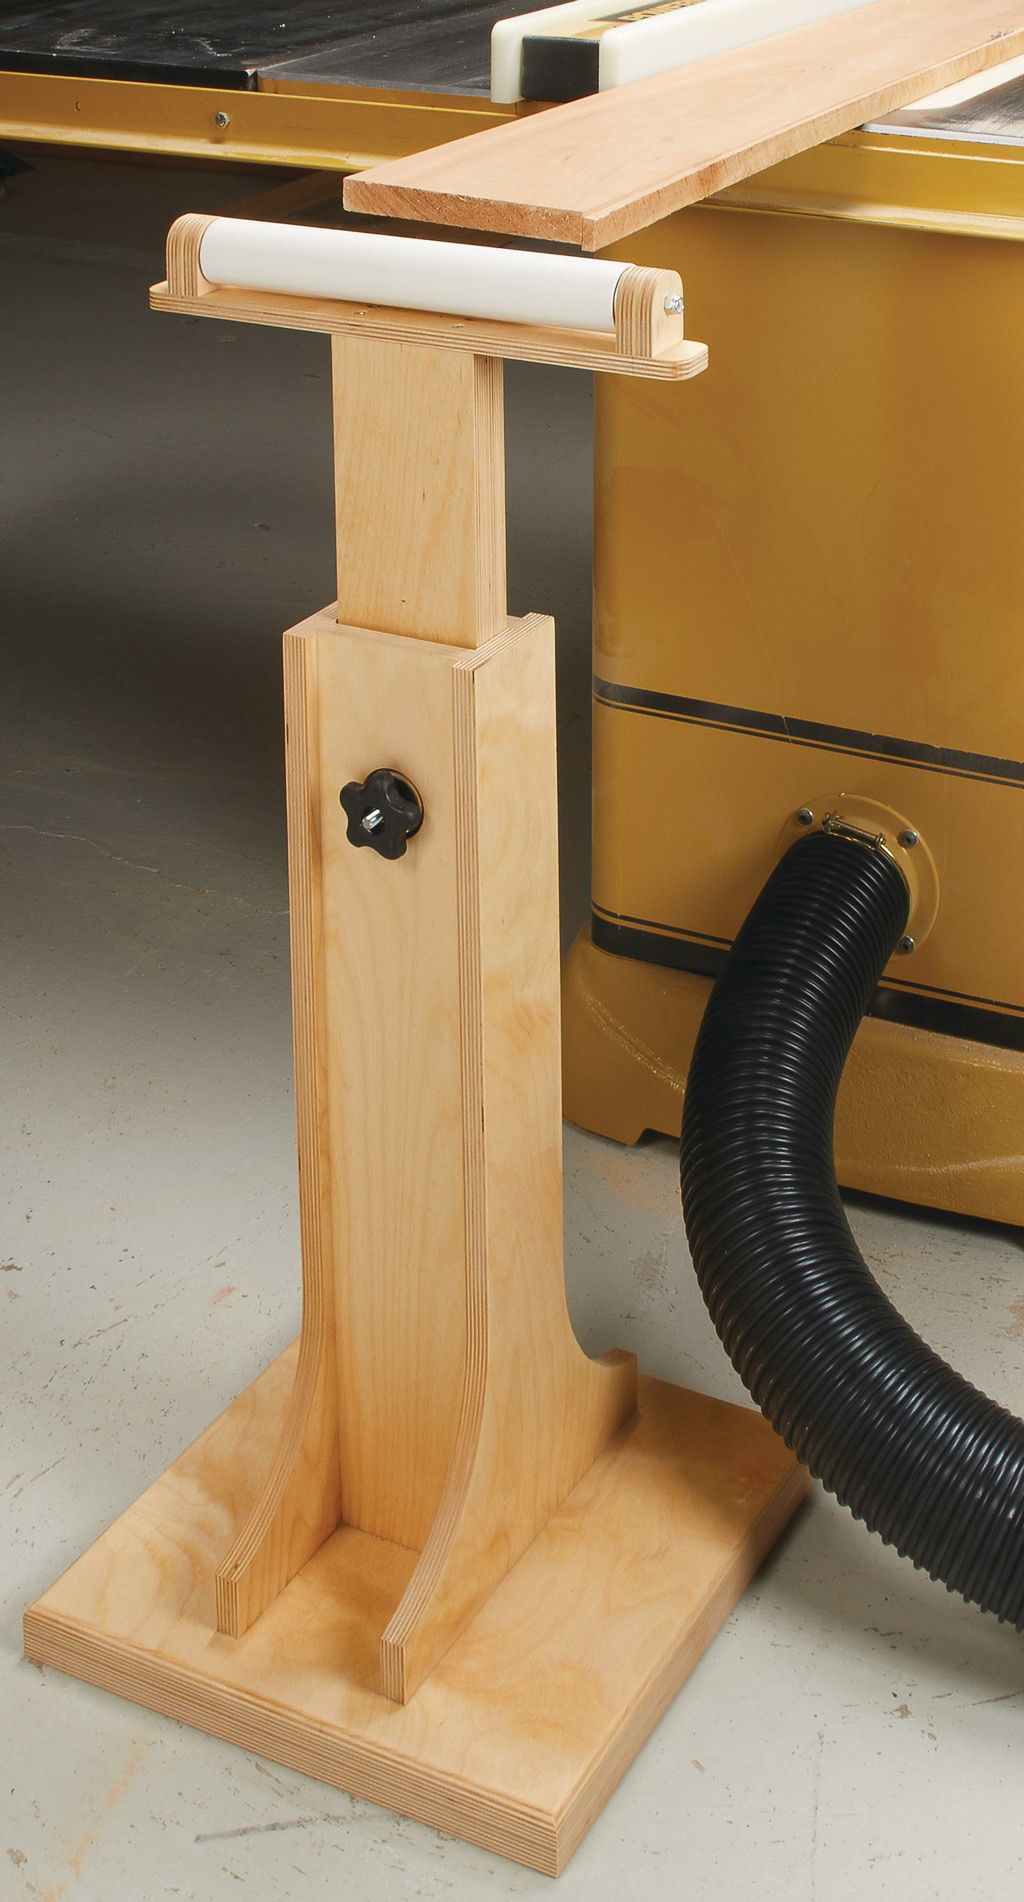
There’s a little more to ripping thin strips than just setting the fence and cutting. First, I’ll mention a few basic techniques that apply. After covering these, I’ll show you a shop-made jig I use to handle cut short strips.
When it comes to ripping thin strips, one of the most important things to do before you start is set up some type of outfeed table. Without support, the strips are going to fall off the back edge of the saw table and I don’t want to give myself any reason to reach over the saw blade and try to catch them. The next step is to set the height of the saw blade so the teeth just clear the top surface of the workpiece. This way, there’s not too much blade exposed. Finally, all that’s left to do is turn the saw on and feed the workpiece through with a smooth, even feed rate. This ensures the saw blade won’t burn the edges or leave tooth marks.

For strips that are less than 30" long, I use this simple jig. This jig works like a big push block that rides against the rip fence as you make the cut. You only have to set the rip fence once, and your strips will all be identical in thickness. And there’s virtually no chance of kickback. As you can see, a wide base captures the workpiece beneath it.

And a replaceable hardboard stop hooks over the end of the workpiece to push it through the saw blade. To keep the jig from rocking, the spacer that’s attached to the bottom of the jig is the same thickness as the workpiece. You’ll want to make several spacers to match common stock thicknesses.


