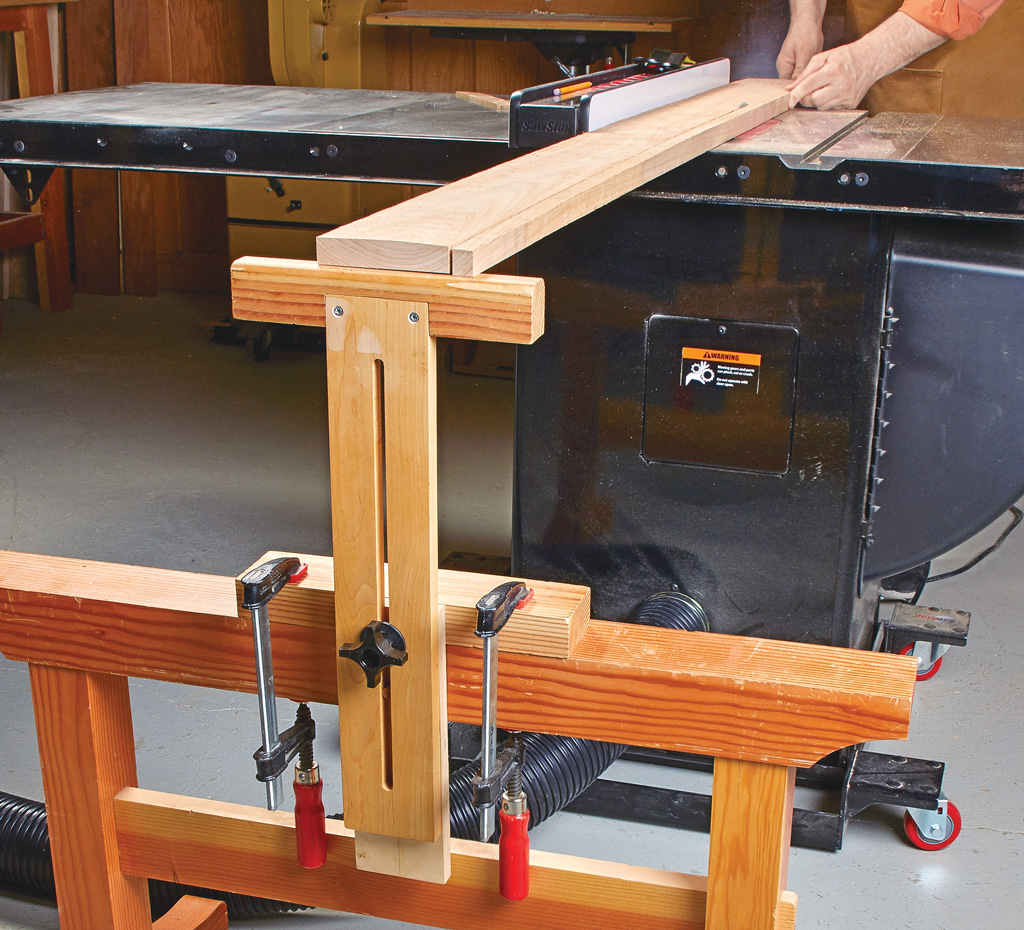
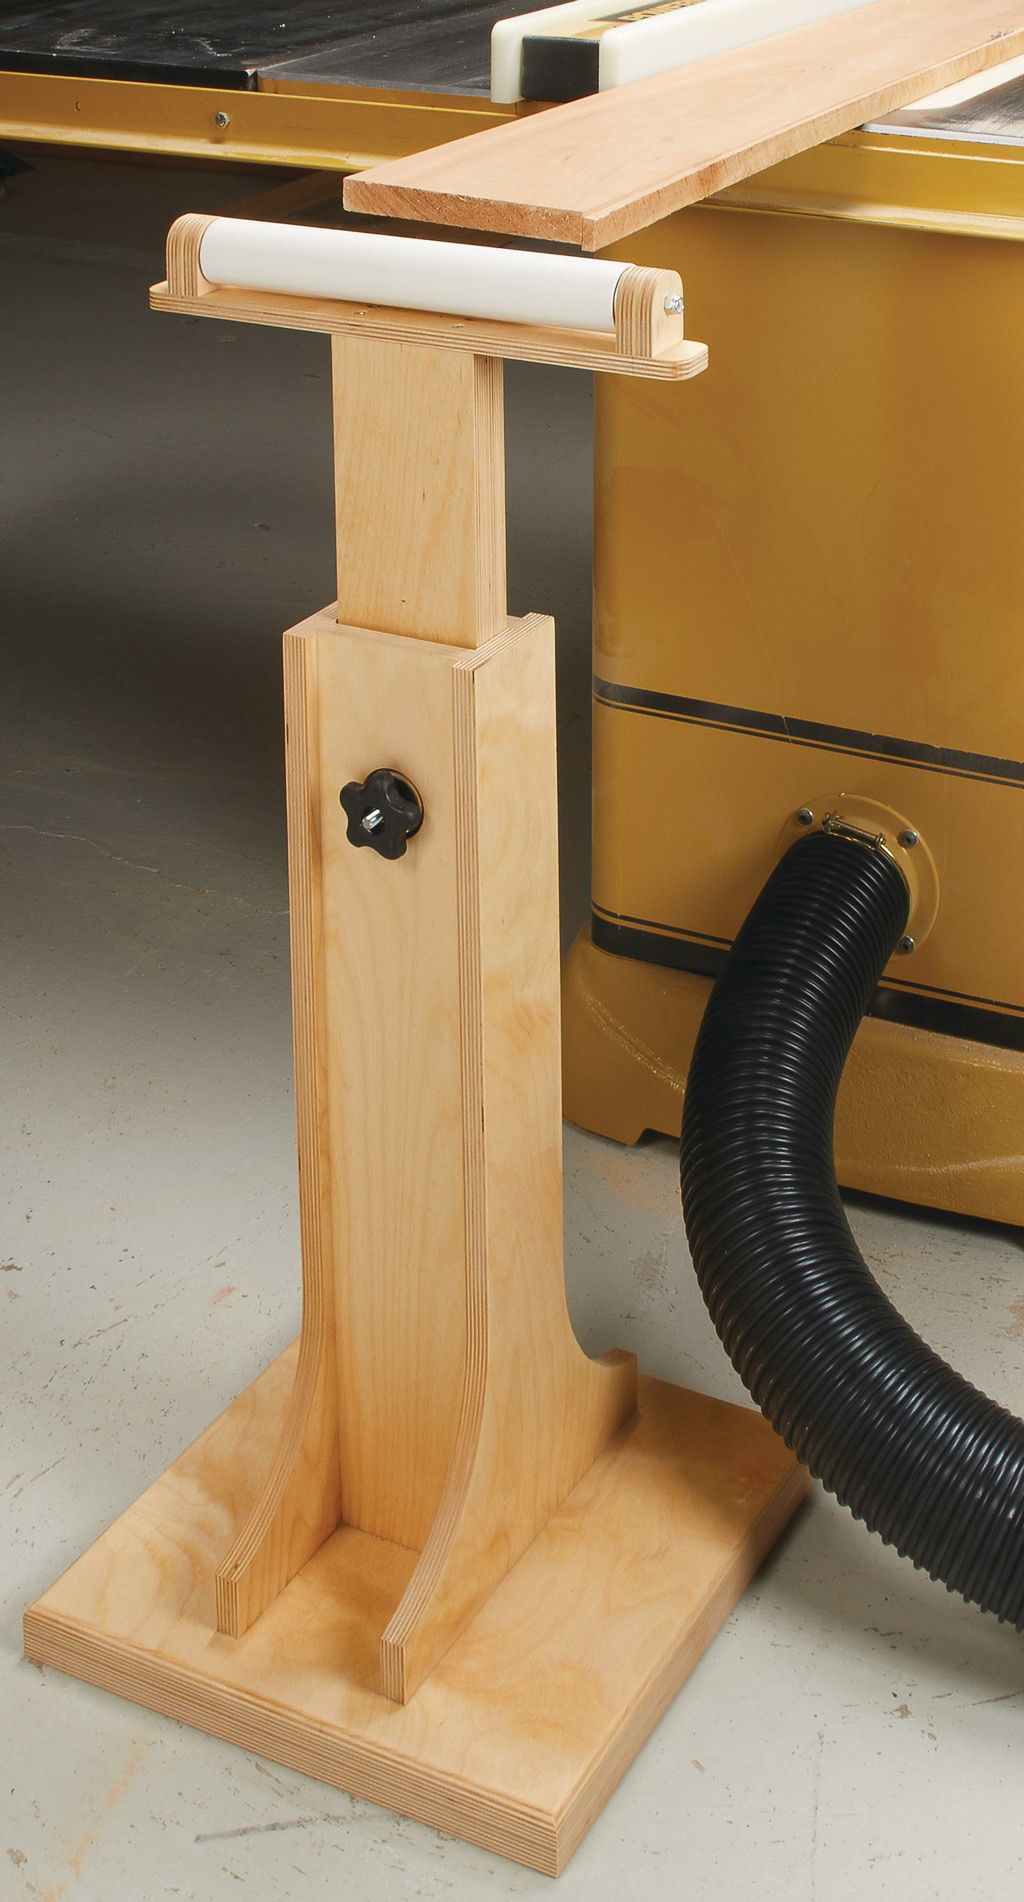
When I’m faced with the task of making a “finish” crosscut on a workpiece, the table saw is almost always the tool that gets the nod. The catch is that perfect crosscuts aren’t guaranteed. The good news is that you can easily achieve smooth, splinter-free crosscuts. All it takes is a simple combination of the right table saw setup and a little shop-tested know-how. For starters, a dedicated crosscut blade is always your best bet. These blades often have 60 or more teeth with alternating bevels. You’ll notice the blade here is surrounded by a zero-clearance insert. This helps prevent chipping by supporting the workpiece right up to the edge of the cut.

Before making the cut, you’ll need to adjust the height of the blade. I’ve found that when the blade is about 3⁄4" above the top surface of the workpiece, I get the smoothest cut. At this height, the cutting action of the teeth is directed downward. The workpiece will be easier to hold down, the sawdust will clear more quickly, and there will be less friction. When making the cuts, you want the good face up, if possible. This will limit any chipout to the unseen face of the workpiece.

When you feed the workpiece through the blade, keep it moving steadily. You have to let the saw, the thickness of the stock, and the hardness of the wood dictate how fast you feed. Burning will tell you you’re feeding too slow — too fast and you’ll see rough saw marks and heavy chipout. But I like to slow down just a bit as the blade starts to exit the cut. This can help avoid chipping along the back edge of the workpiece. To preserve the clean edge, avoid the temptation to quickly pull the workpiece back along the edge of the saw blade after completing the cut. Instead, slide the workpiece away from the blade before returning. If the workpiece is clamped or a stop block is in place, I’ll turn the saw off rather than risk ruining the cut.

That covers the basics. But I have another tip to offer that helps me get better crosscuts. Whenever possible, I like to take a full cutoff rather than just a “trim” cut. This way, the blade is cutting a full-width kerf, and it will run truer, giving you a cleaner, smoother cut. Sometimes, you can’t avoid making a cut of less than a blade’s width. And when this is the case, I try to make the final, finish cut as light as possible. You’ll see fewer saw marks and less chipping.


