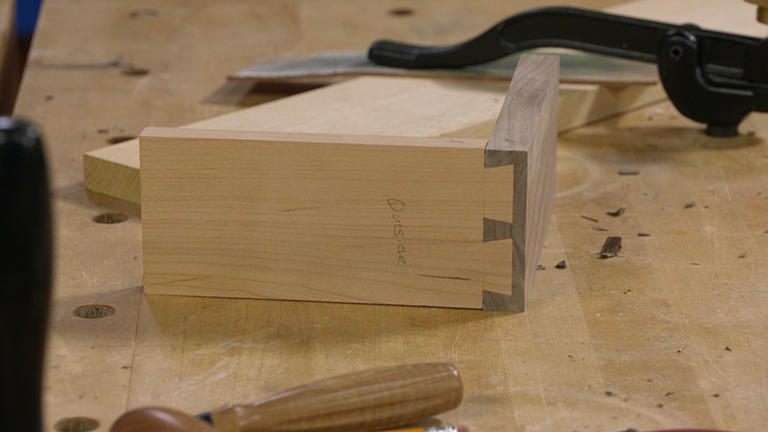
Loose tenon or floating tenon joinery is a great choice for constructing all types of frames. Rather than cut a mortise in one piece and a tenon on the mating piece, you simply cut a mortise in each workpiece and then fit a "loose' tenon between them, similar to adding a spline to a miter joint. This way, you don't have to take any joinery into account when cutting the workpieces to length. And there are no fussy shoulders to fit.
The only catch is that loose tenon joinery requires an efficient method of cutting two perfectly aligned mortises in the mating workpieces. This is where the BeadLOCK Pro loose tenon system from Rockler enters the picture.

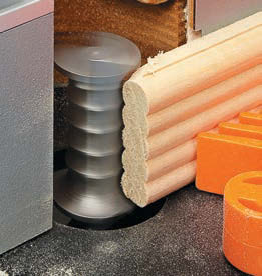
The original, basic BeadLOCK system is essentially a drilling guide that allows you to create accurately sized and positioned mortises in mating workpieces with just a hand drill. A BeadLOCK mortise is comprised of a series of precisely spaced overlapping holes. A Bead-LOCK loose tenon with a "corrugated" shape matching the mortises is inserted between the two workpieces. A look at the photo above will give you the idea.
The advanced, more versatile BeadLOCK Pro system provides a few more joinery options. Standard BeadLOCK joints are the starting point. From there, you can also use it to make loose tenon joints using shop-made “smooth” tenon stock, or even a square mortise for a standard mortise and tenon joint.

__ THE KIT__ The parts included with the basic BeadLOCK Pro kit are shown above. As you can see, the body of the jig resembles a heavyduty doweling jig. The two sturdy, steel reference plates are spanned by a pair of stout guide rods. The guide rods support an adjustable, sliding carriage that holds the interchangeable drilling and mortise paring blocks.
__ HOW IT WORKS__ The two drawings below show how the jig is used to make a standard BeadLOCK mortise. The drilling block contains a row of evenly spaced guide holes. All you have to do is drill two sets of holes, shifting the position of the guide block in between.


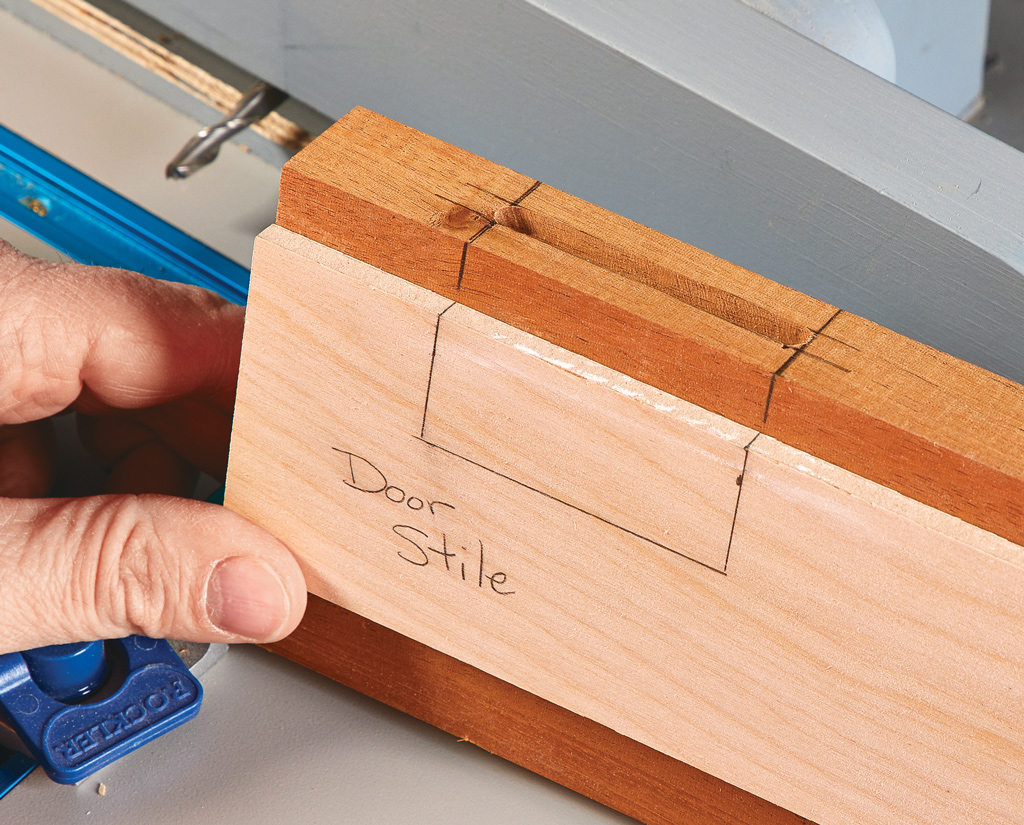
The registration of the drilling block in the carriage is automatic, so there's virtually no room for error. The size and configuration of the mortise is dead-on every time. And alignments marks on the drilling block along with a quick layout allow you to accurately match up the mortises in the mating pieces.
A STANDARD MORTISE
If your goal is a smooth-sided mortise, you swap out the drilling block for the paring block after drilling out the mortise (photo below). The width of the opening in the paring block matches the diameter of the drill bit and serves as a steady guide for a chisel. You can quickly shave away the “ribs” between the holes, creating a clean, accurately sized mortise for your shop-made loose tenons or a standard tenon. (Note: The ends of the mortise can be left round or squared up using the paring block, as shown above.)

__ SPECS__ The standard kit comes with a drilling and paring block for making 3/ 8"-wide mortises. Accessory packages, which include a set of guide blocks and a drill bit and stop collar, are available for making 1/4 "- and 1/2 "-wide mortises.
You can buy ready-made Bead-LOCK tenon stock or make your own with a special router bit (box below). But one minor drawback is that the pre-made Bead-LOCK loose tenon stock comes only in standard widths — 1 1/2" for 1/4"-wide mortises, 1 3/8" for 3/8"-wide mortises, and 1 1/4" for 1/2"-wide mortises. You'll encounter the same limitation if you make your own tenon stock on the router table. When a more substantial joint is desired, you can always double up the joinery.
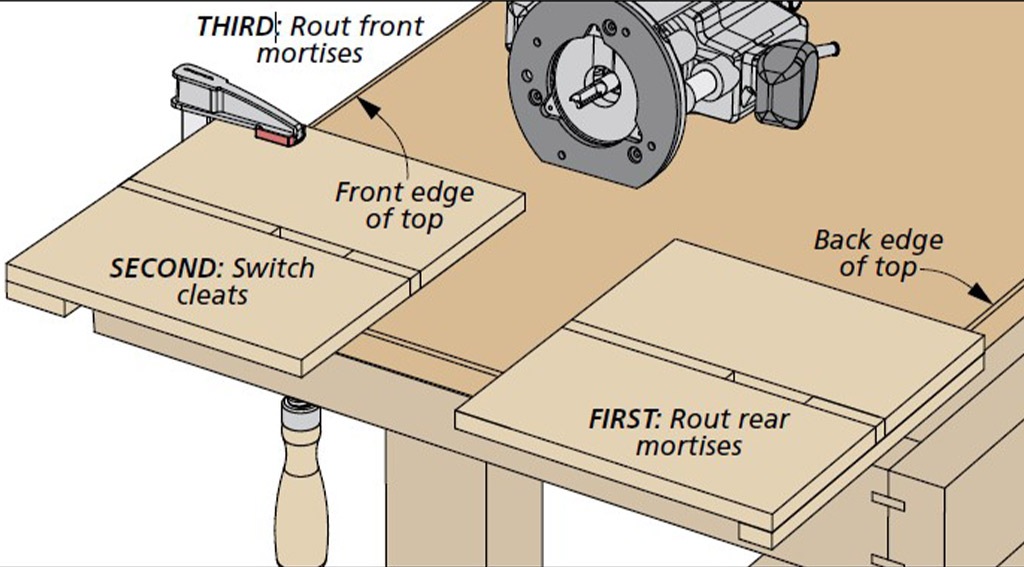
Smooth-sided mortises up to about 3" long can be made using the drilling and paring blocks. Mortises can be extended by repositioning the jig on the workpiece.
Maybe the best thing about the BeadLOCK Pro is that the learning curve isn't steep. Once you get the hang of the basics, the system provides a versatile, reliable, and easy-to-use option for joinery.
How-To: Make BeadLOCK Tenons

If you find yourself going through a lot of BeadLOCK tenon stock, it might pay to invest in a BeadLOCK router bit and start making your own. This also lets you better match the tenon wood to the wood in your project.

Making long sections of tenon stock is an easy task at the router table. You start with a blank sized to the thickness and width of the tenons. Then, using the setup shown in the photo, you rout the profile on both faces.


