Dentil molding has been a staple of fine furniture for centuries. Characterized by a series of regularly spaced blocks, dentil molding has its roots in architectural design. From stone construction to interior ceiling molding, the dentil pattern eventually found its way into furniture design. And the good news is, you can easily make dentil molding for your projects at the table saw with a simple jig.
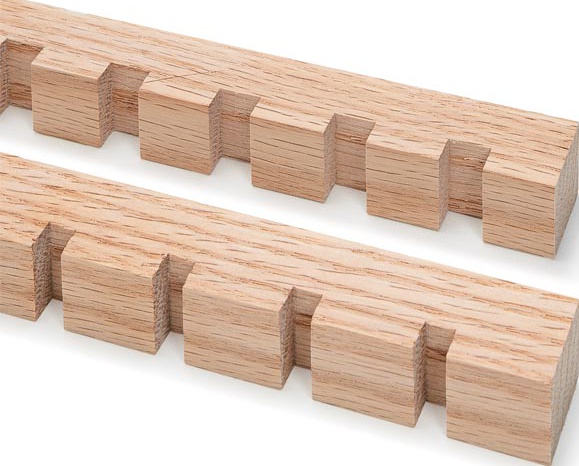
If you take a quick look at dentil molding, you can see that it’s a lot like one half of a box joint. So it’s no surprise that the jig used to cut the molding is also very similar. Unlike box joints, however, you can vary the size of the blocks and spaces. The photo shows you an example of what I’m talking about.
The jig consists of an auxiliary fence attached to the miter gauge and an index key to evenly space the cuts. The starting point for making molding is to determine your design. Begin by drawing a simple layout of the blocks and spaces, keeping them in proportion to your project. Then you can build the jig to suit the design. In most cases, you’ll want the molding to have a full block on each end, so you’ll need to account for this in the design. Once you’ve finalized the design of the molding, you can move on to building the jig. The place to start here is the fence. I used plywood, but MDF is also a good choice. You can cut the fence to the dimensions shown in the drawing below.
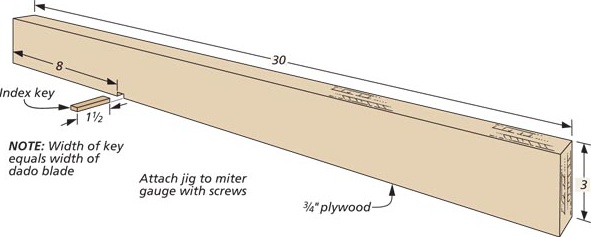
After installing the index key, carefully measure the distance from the dado blade and attach the fence.
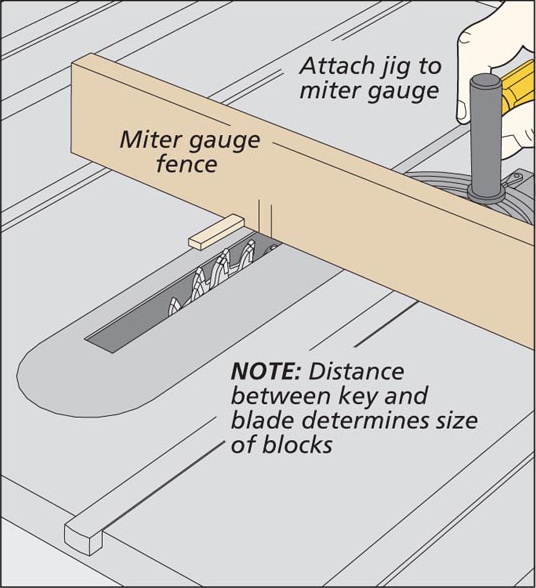
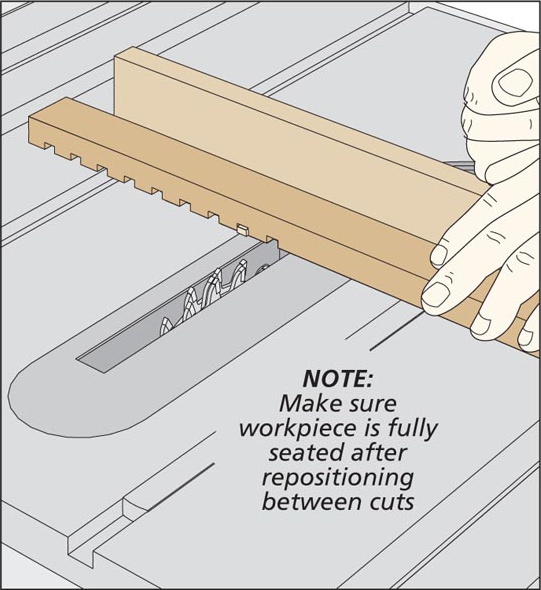
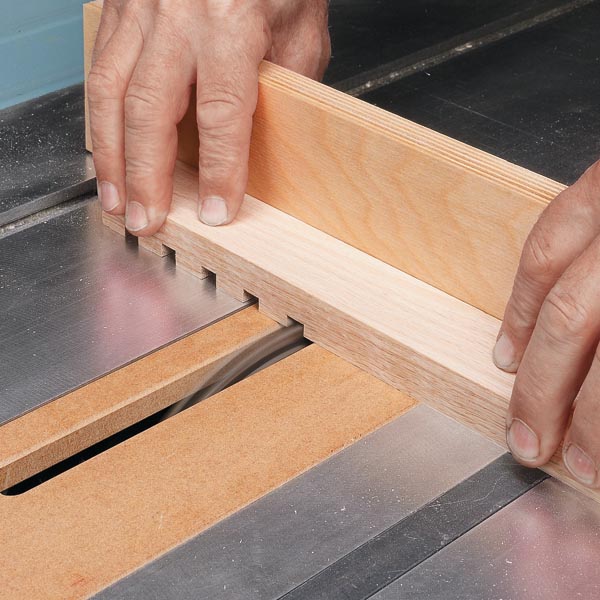
Butt the workpiece up against the key and make your first cut, creating a full block on one end.
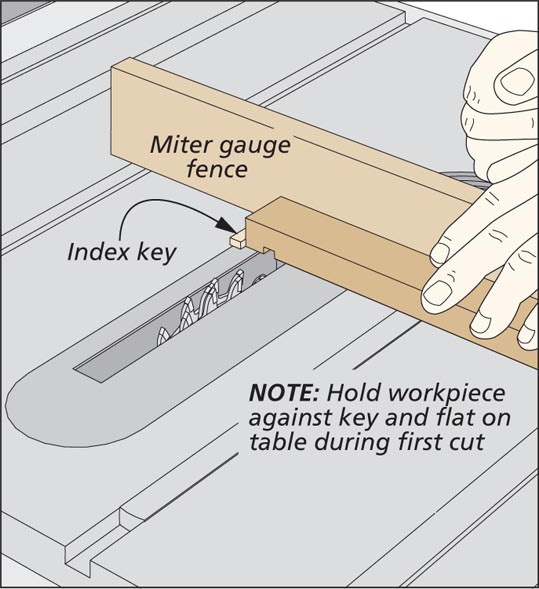
Complete the molding by repositioning the workpiece over the key after each successive pass.
