Create a Cute DIY Birdhouse for Your Next Project

Birdwatching and gardening are favorite pastimes for many. Waking up on a Sunday morning just to take care of your plants and think about ways you can beautify your garden is priceless.
Have you been thinking of installing birdhouses on your lawn? Instead of spending hundreds of dollars on purchasing ready-made birdhouses, you can just use existing raw materials at home to make them yourself. We’ve curated this small but complete guide to help you create a cute DIY birdhouse at home. Let’s start by collecting the equipment you’re going to need!
THE EQUIPMENT YOU’RE GOING TO NEED
Miter saw
You’re going to need a miter saw to make the relevant cuts comfortably.
Drill
You’ll need a drill with two types of hole attachments. You’ll need to make one that’s around 1.5 inches in diameter, and the other should be large enough to push through a piece of twine.
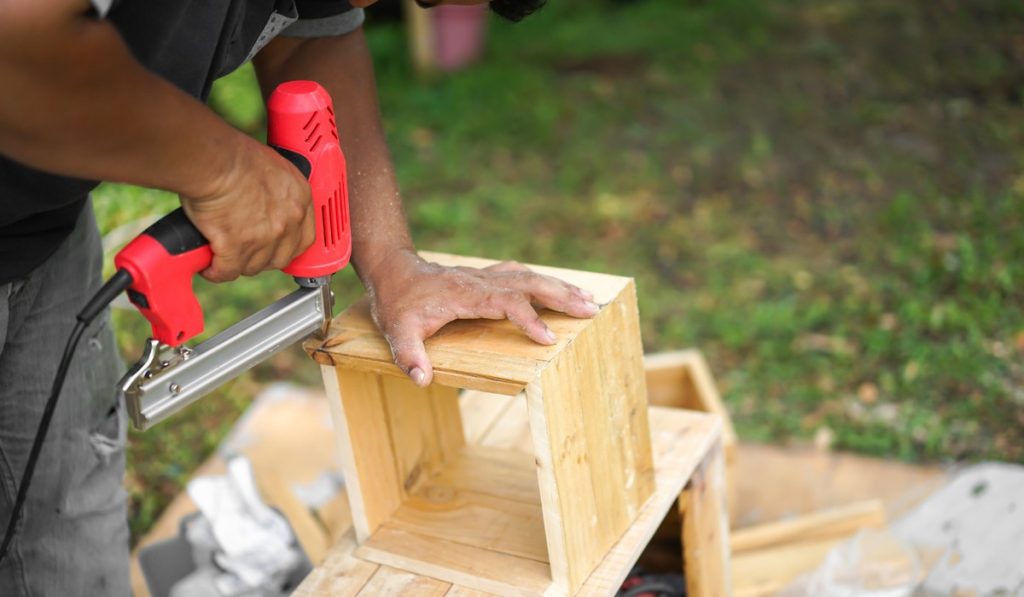
Electric brad nailer
A birdhouse is small and delicate. Using a hammer to drive through nails would be catastrophic. An electric brad nailer is a must!
Glue
You’ll need German glue to fasten the different fronts of the birdhouse together. The brad nails will further help fortify.
Sander
A wood sander will be super beneficial in smoothing out and finishing the final surface.
Wood stain or exterior paint
Once you’re done with the sanding, you’ll need to paint the birdhouse.
Other materials
You’ll also require the following materials:
- Wood boards
- 1.25-inch nails
- 0.25 inches plywood
- Exterior wood filler
- Sanding sponge or electric wooden sponge
- Paintbrush
- Twine to hang the birdhouse
STEP-BY-STEP GUIDE TO CREATE A BIRDHOUSE
Everyone has scrap wood lying around in their garage. The key to creating a birdhouse is to use those scraps smartly, get them into shape and develop an exquisite finish.
Cut and size the pieces
You will have to use a miter saw to cut the board and plywood to size. Mark the center point of the front and back walls and use them to cut the two boards to create a pointy, peak shape.
Drill the opening
Make a small hole right below the center point you marked earlier, between the center of the front wall and the previously marked center point. Use a paddle bit, hole saw, or jigsaw.
Attaching sides, front and back
You would’ve made six cuts previously — two for the pointy peak, two sides, and two for the front and back. The four sides would be equal in size, and the two cuts for the peak would also be equal in size.
Attach all the sides, front, and back using an electric brad nailer and glue.
Installing the base and roof
Once you’re done, install the base and roof. Make sure to fasten all the parts with a brad nailer as well as with glue.
Apply the finish
Once you’ve attached all the sides, base, and roof, smooth out the surfaces carefully. Use sanding paper to even out the wood and make sure it’s smooth from all ends. Apply wood filler if you have to and paint the birdhouse.
Install a hanger
Make another small hole through the right and left sides. The whole should be wide enough to pass a twine or rope through it. Pass the rope or twine from both ends and install a hook on the top so you can hang it on a nail in your lawn or patio.
FINAL THOUGHTS
This cute little birdhouse is the most basic you can go. If you’re in the mood for more customizations, you can always play around with different shapes and play with different pots, old drawers, and colors, and get quirky with the designs. Make sure to be extra careful when using tools like a miter saw or brad nailer!
