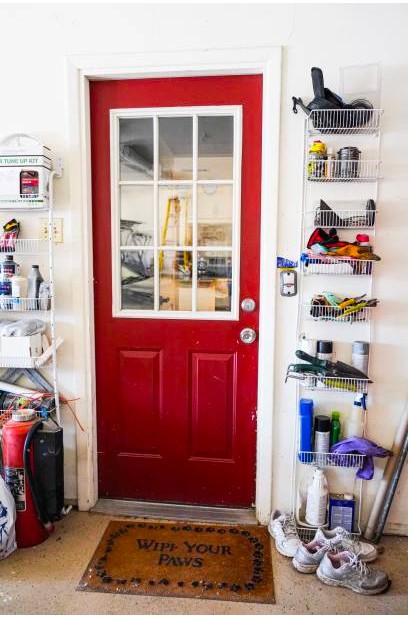
How To Make a DIY Over-the-Door Organizer

Do you want to create storage for your home office, kids’ room or kitchen but don’t have much time, money or floor space? If so, then these practical and functional over-the-door organizers might be the perfect solution for you! These organizers are designed to fit over the doors and offer storage space that is ideal for keeping your belongings neat and tidy.
Unlike traditional closet systems, an over-the-door organizer takes up minimal space. They are also great for storing things such as toys, books, purses and shoes. Plus, it’s simple to install, as long as the door itself is sturdy enough to support the weight of the objects.
Over the Door Organizer: A Step-by-Step Guide
If you don’t already have an over-the-door organizer, then get ready to simplify your life. This step-by-step guide shows you exactly how to build one from scratch.
Supplies you will need:
- Hook rows
- Metal pipes
- Sandpaper
- Glue
- Drill
- Screws and washers
- Ruler
- Pencil
- Baskets
- Paints
- Other decor items
Step one: Determine the location of your OTD organizer
Before you commence the project, you should choose the location for your over-the-door hanging. This is so because some doors, such as pantry or closet doors, can have varying sizes. Decide which door the organizer will go on and then acquire the necessary items based on that measurement.
Step two: Flattening out your hooks
This step is very necessary since the last hooks on either side of the hook row are going to be connected with metal pipes to build a solid frame for your over-the-counter organizer. You can either use a hammer or some other method to get the hooks as straight as possible.
Step three: Preparing the frame
Once you have all of your metal pipes, start cutting them to size with a circular saw. Ensure they are clean and sanded down before putting any glue on them. Next, you want to lay out all of your metal components and decide where you want to put holes or glue the hook rows. If you don’t intend to use the frame for anything bulky, we’d recommend gluing; otherwise, consider screwing the flattened hooks to the pipe to create a ladder-like frame.
Step four: Sticking it all together
Now comes the fun part! After marking the distance between hook rows on the pipe, you need to apply the appropriate amount of glue to each mark. Start assembling your frame by putting the pieces into place. You can also use some other form of strong adhesives, such as duct tape or zip ties, to hold the metals together.
Step five: Finishing touches!
It is now time to finalize the project. For that, you can just affix pretty baskets to the hooks that will serve as storage in the future. This DIY project can also be given new life by applying a fresh coat of spray paint to the metal frame.
Conclusion
An over-the-door organizer is perfect for storing your tools and supplies! It is designed to keep them easily accessible and store them when they are not being used. You can store small items inside the baskets but nothing too heavy. With this over-the-door organizer, you will have your own personal storage unit that you can access at any time!
