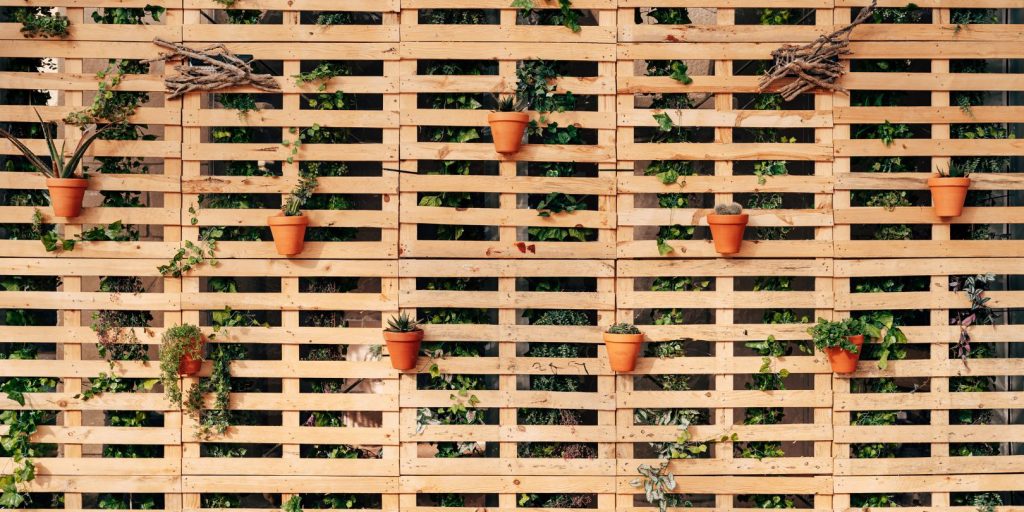
DIY Pallet Fence: A Step-by-Step Guide and Supplies List

Creating a rustic and cost-effective fence for your backyard or garden is easier than you might think, thanks to the versatility of wooden pallets. A DIY pallet fence not only adds a touch of charm to your outdoor space but also repurposes materials that might otherwise go to waste. In this comprehensive guide, we’ll walk you through the step-by-step process of building your very own pallet fence, along with a list of supplies you’ll need to get started. Whether you’re a seasoned DIY enthusiast or a beginner, this project allows you to unleash your creativity while enhancing your property’s privacy and aesthetics.
Materials and Tools You’ll Need
Wooden pallets
You’ll need enough pallets to cover the desired length of your fence. Make sure the pallets are in good condition and free from any toxic chemicals.
Wooden posts
For stability, you’ll need wooden posts to support the pallets. The number of posts required depends on the length of your fence.
Concrete mix
You’ll need concrete mix to secure the wooden posts in the ground. Opt for quick-setting concrete for efficiency.
Gravel
Gravel helps with drainage and stability. You’ll use it at the base of each post hole.
Screws
Get sturdy outdoor screws to attach the pallets to the posts securely.
Hinges and latches
If you want a gate in your fence, you’ll need hinges and a latch.
Tools
You’ll need a variety of tools, including a circular saw or miter saw, drill, level, measuring tape, shovel, and a sledgehammer.
Step-by-Step Guide
Planning and Preparation
Measure the area where you want to install the fence and mark the positions for your wooden posts. The spacing between posts can vary depending on your preferences, but typically it’s around 8 feet apart.
Dig Post Holes
Use a shovel to dig holes for your wooden posts. The depth of the holes should be around one-third of the length of the post. Add gravel to the bottom of each hole for drainage.
Set the Posts
Place the wooden posts in the holes and ensure they are level. Mix the concrete according to the manufacturer’s instructions and pour it into the holes around the posts. Use a level to ensure the posts are straight and plumb. Allow the concrete to set.
Disassemble the Pallets
Carefully disassemble the wooden pallets, taking care not to split or crack the wood. Remove all nails and staples.
Attach Pallets to Posts
Start attaching the pallets to the wooden posts. Use outdoor screws to secure them in place. You can choose to place the pallets horizontally or vertically, depending on your desired look.
Gate Installation (Optional)
If you want to add a gate to your pallet fence, attach hinges to one of the pallets and a latch to the other. Ensure it swings smoothly and latches securely.
Finishing Touches
Sand any rough edges or splinters on the pallets to prevent injuries. Apply a wood sealer or paint to protect the wood and enhance its longevity.
Conclusion
Building a DIY pallet fence is not only an environmentally friendly choice but also a creative way to add character to your outdoor space. With the right materials, tools, and a bit of effort, you can construct a charming and functional fence that enhances both the privacy and aesthetics of your garden or backyard. Plus, the satisfaction of completing this project yourself is a bonus that you can enjoy for years to come.
