How to Fix a Sagging Door in 5 Steps

A sagging door is a common household issue that can be both frustrating and inconvenient. Not only does it affect the aesthetics of your home, but it can also lead to problems with the door’s functionality, such as difficulty in opening or closing it properly.
Fortunately, you don’t need to be a seasoned DIY expert to tackle this problem. With a few simple tools and a bit of patience, you can fix a sagging door and restore it to its former glory. In this guide, we’ll walk you through five easy-to-follow steps to address this issue and ensure your doors swing smoothly once again.
Step 1: Identify the Cause of the Sag
Before you can fix a sagging door, it’s essential to identify the root cause of the problem. A variety of factors can cause doors to sag, including loose hinges, a settling foundation, or worn-out screws. Begin by closely examining the door and its frame to determine where the issue lies.
Check if the hinges are loose or damaged, as this is often the primary cause of door sagging. Additionally, assess the condition of the screws, strike plate, and latch to ensure they are functioning correctly. Identifying the specific problem will guide you in implementing the most effective solution.
Step 2: Tighten Hinge Screws
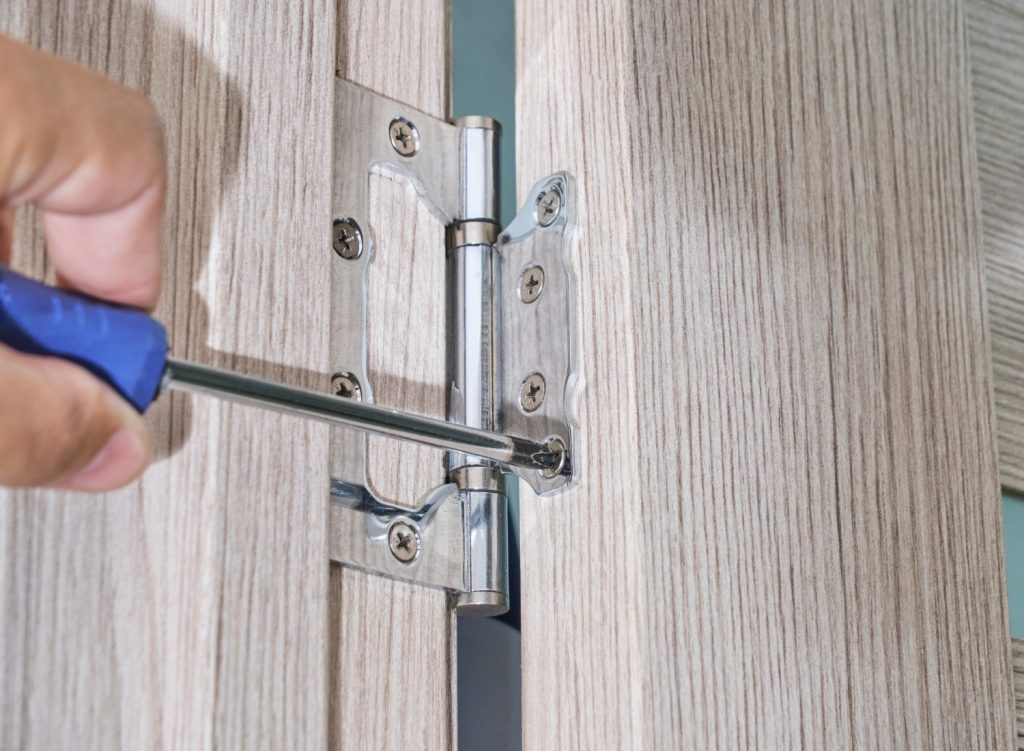
Loose hinge screws are a common culprit behind sagging doors. To fix this, start by removing the screws from the affected hinge. It’s a good practice to have someone hold the door in place or use a doorstop to prevent it from falling during this process. Once you’ve removed the screws, inspect them for any signs of damage or wear.
If they are in good condition, proceed by adding a few wooden toothpicks or matchsticks coated with wood glue into the screw holes. This provides a more secure anchor for the screws, helping to stabilize the door. Reinsert the screws, ensuring they are snugly tightened. Test the door’s movement to see if this simple fix has corrected the sagging issue. In most cases, this step alone can significantly improve the door’s alignment.
Step 3: Use Shims to Adjust the Door
If the sagging is more severe and tightening the screws doesn’t resolve the problem, you may need to use shims to adjust the position of the door. Shims are thin, wedge-shaped pieces of material that you can insert to alter the alignment of the door within the frame.
Begin by removing the screws from the top hinge, and then carefully lift the door off its hinges. This step may require assistance due to the weight of the door. Once you’ve removed the door, inspect the hinge side of the frame. Look for gaps or irregularities that indicate where the door is sagging. These are the areas where you’ll insert the shims to correct the alignment.
Cut the shims to the appropriate size and insert them into the gaps, gradually raising the door to the desired level. Be patient and make small adjustments as needed to achieve an even alignment. Once you’ve successfully adjusted the door’s position, reattach it to the hinges and test its movement to ensure it swings smoothly without sagging.
Step 4: Install a Center Screw in the Top Hinge
For added stability and reinforcement, consider installing a longer screw in the top hinge. This step helps distribute the weight of the door more evenly and can prevent future sagging. To do this, remove one of the existing screws from the top hinge. Replace it with a longer screw that extends into the door jamb, creating a stronger connection.
This extra support can help maintain the alignment of the door and prevent it from sagging over time. It’s a simple yet effective preventive measure that can prolong the life of your door and keep it functioning optimally.
Step 5: Check and Adjust the Strike Plate
The strike plate, located on the door frame opposite the latch, may also contribute to a sagging door. Its misalignment can prevent the door from latching correctly and exacerbate the sagging issue. To address this, check if the latch lines up properly with the strike plate when the door is fully closed. If not, you may need to adjust the position of the strike plate.
Start by loosening its screws, allowing some room for movement. You can use measuring tape to help you keep it level. Gently shift the strike plate to align it with the latch, ensuring that the door can close securely. Once it’s in the correct position, tighten the screws to secure the strike plate in place. Testing the door’s closure will confirm if the latch now engages properly with the strike plate. This adjustment ensures that your door not only looks better but also functions as intended.
Conclusion
By following these five steps and additional tips, you can successfully fix a sagging door and restore its functionality and appearance. Remember to approach the task with patience and care, and don’t hesitate to seek professional help if needed, especially for complex structural issues. With a little effort and attention to detail, you can enjoy the satisfaction of a smoothly swinging door and a more secure, aesthetically pleasing home.
