How to Hang Shelves Perfectly on the First Try

- Materials You'll Need
- Step 1: Choose the Right Location
- Step 2: Find Wall Studs (If Applicable)
- Step 3: Measure and Mark
- Step 4: Pre-Drill Holes (If Using Wall Anchors)
- Step 5: Install Wall Anchors or Screws
- Step 6: Attach Mounting Brackets or Shelf Supports
- Step 7: Install the Shelves
- Step 8: Secure the Shelves
- Step 9: Add the Finishing Touches
- Conclusion
Hanging shelves can be a game-changer in your home. They not only provide functional storage but also add aesthetic appeal to your space. However, one of the most common DIY challenges is getting those shelves perfectly level and secure on the first attempt.
Wobbly or crooked shelves can be frustrating and ruin the look of a room. But fear not, as we’re here to guide you through the process of hanging shelves flawlessly on the first try. Whether you’re a seasoned DIY enthusiast or a beginner, these step-by-step instructions and tips will help you achieve a professional look and save you from multiple adjustments. Let’s get started!
Materials You’ll Need
Before we proceed with the installation steps, it’s important to gather the necessary materials and tools. You’ll need the shelves themselves, carefully chosen to match your desired type, size, and quantity, ensuring they fit your wall space perfectly. Select wall anchors or screws based on your wall type (drywall, plaster, or wood), with wall anchors providing added support for heavier shelves.
Additionally, have a level (either spirit or laser), tape measure, pencil for marking, a drill with the appropriate bits for creating anchor holes, a wall stud finder for accurate stud location if needed, and a screwdriver or drill driver for securing screws or wall anchors. Depending on your shelf type, you may also require mounting brackets or shelf supports to securely hold the shelves in place during installation.
Step 1: Choose the Right Location
Before you begin, decide where you want to hang your shelves. Consider factors such as the purpose of the shelves, the room’s layout, and the visual balance you want to achieve. Use a measuring tape to mark the desired height and spacing for your shelves on the wall.
Step 2: Find Wall Studs (If Applicable)
If you’re installing heavy shelves or prefer anchoring them to wall studs for added stability, use a stud finder to locate the studs behind the wall. Mark the locations of the studs with a pencil.
Step 3: Measure and Mark
Measure the width of your shelves and mark the positions of the shelves on the wall using a pencil. Use a level and tape measure to ensure that your marks are perfectly horizontal. If you have multiple shelves to hang, make sure they are evenly spaced and level with each other.
Step 4: Pre-Drill Holes (If Using Wall Anchors)
If you’re using wall anchors, you’ll need to pre-drill holes at the marked locations. Use a drill with the appropriate bit size for your wall anchors. Be careful not to drill too deeply or at an angle—the holes should be straight and the same depth as the length of the wall anchor.
Step 5: Install Wall Anchors or Screws
Insert the wall anchors or screws into the pre-drilled holes. If using wall anchors, make sure they are flush with the wall. If you’re attaching shelves to wall studs, drive screws directly into the studs at the marked locations. Use a screwdriver or drill driver to secure them in place.
Step 6: Attach Mounting Brackets or Shelf Supports
If your shelves require mounting brackets or shelf supports, attach them to the wall anchors or screws you’ve installed. Make sure they are level and secure.
Step 7: Install the Shelves
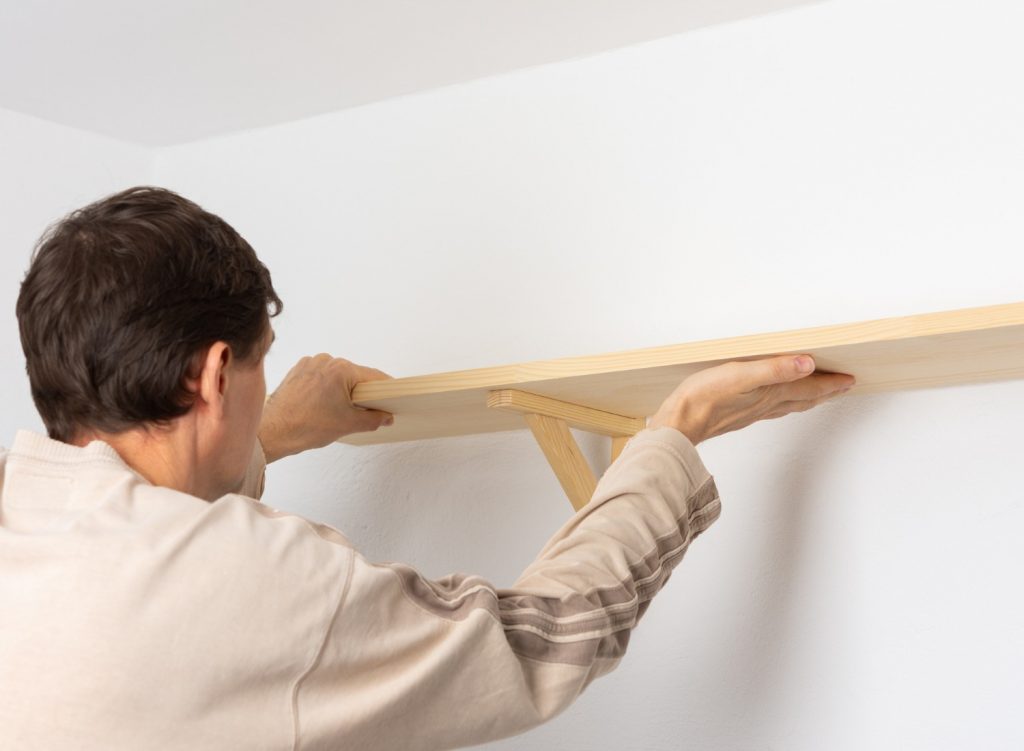
Carefully place your shelves on top of the mounting brackets or shelf supports. Ensure they are level and sit securely in place. If necessary, use a level to double-check that the shelves are perfectly horizontal.
Step 8: Secure the Shelves
To prevent the shelves from moving or tipping, secure them by attaching them to the wall anchors, screws, or brackets. Use the provided screws or appropriate fasteners for your specific shelf type. Make sure the shelves are level one last time before tightening the screws.
Step 9: Add the Finishing Touches
Now that your shelves are securely hung and level, it’s time to add your favorite décor items, books, or whatever you plan to display on them. Step back and admire your handiwork, knowing that you’ve successfully hung shelves perfectly on the first try.
Conclusion
Hanging shelves can be a satisfying DIY project that adds both functionality and style to your home. With careful planning, precise measurements, and the right tools, you can hang shelves perfectly on the first try, giving your space a polished and organized look. Whether you’re displaying your book collection, showcasing décor, or creating additional storage, properly hung shelves can transform any room.
