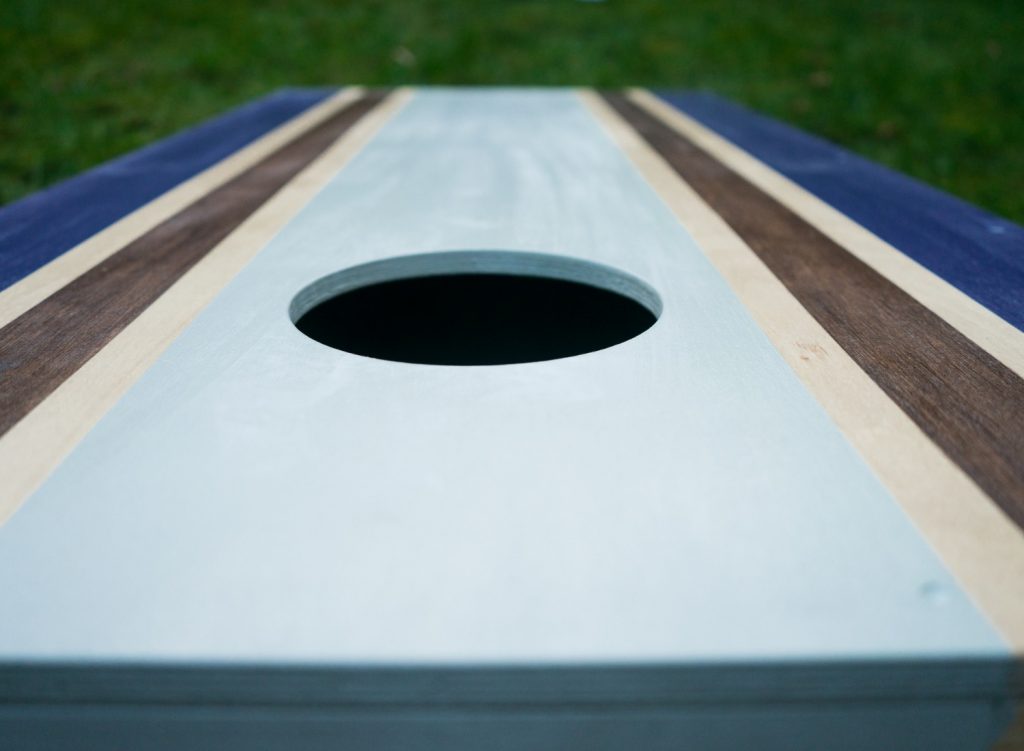
How To Make Cornhole Boards: Materials, Dimensions, and Directions

Cornhole is a popular outdoor game that brings joy and entertainment to gatherings and events. If you’re a fan of cornhole and want to elevate your game, why not consider making your own cornhole boards? Building your own cornhole boards allows you to personalize the design, choose high-quality materials, and create a set that matches your style.
In this brief post, we’ll guide you through the process of making cornhole boards, including the materials you’ll need, the dimensions to follow, and step-by-step directions to help you create sturdy and professional-looking boards you’ll be able to use for years to come.
Materials You’ll Need
To begin your cornhole board project, it’s important to gather all the necessary materials. These include plywood, 2 x 4 boards, deck screws, wood glue, a saw (such as a circular saw, table saw, or miter saw), a drill, a jigsaw, measuring tape, sandpaper, and some paint or stain. The plywood should be a 4 x8 feet sheet of ½-inch or ¾-inch birch plywood, which will be enough for two cornhole boards. You’ll need four 8-foot long 2 x 4 boards for constructing the frame and legs. Deck screws measuring 2.5 inches or 3 inches will securely attach the boards together, while high-quality wood glue will provide additional strength to the joints.
When it comes to dimensions and layout, it’s important to adhere to regulatory standards. Each cornhole board should measure 2 feet in width and 4 feet in length. The hole placement should have the center of the hole positioned 9 inches from the top of the board and 12 inches from each side. The hole itself should have a diameter of 6 inches. In terms of board angle, the top of the board should be 12 inches from the ground at the back and 3 to 4 inches from the ground at the front.
Step-by-Step Directions
Now that you have gathered the materials and are familiar with the dimensions let’s dive into the step-by-step process of making cornhole boards.
- Cut the plywood. Use a saw of your choice to cut the plywood into two 2 x 4 pieces for each board.
- Cut four 2 x 4 boards into four 48-inch pieces for the frame and four 12-inch pieces for the legs.
- Attach the 48-inch boards to the edges of the plywood using the wood glue and deck screws.
- Attach the 12-inch boards to the corners of the frame using the wood glue and deck screws.
- Measure and mark the hole placement, then use a jigsaw to cut out the 6-inch hole.
- Use sandpaper to smooth any rough edges and ensure a flat and smooth playing surface.
- Apply outdoor paint or stain to the boards, allowing sufficient drying time between each of the coats. Consider adding custom designs, logos, or decals to the boards for a more personalized look.
- Finish by applying a clear, weatherproof coat for additional protection.
Conclusion
By following these instructions and using quality materials, you can create your own cornhole boards that are both functional and visually appealing. Building your own boards allows you to customize them to your liking, whether it’s adding your favorite team’s logo or painting them in vibrant colors. Plus, you’ll have the satisfaction of knowing you crafted them with your own hands. Once your cornhole boards are complete, you’ll be ready to enjoy countless hours of fun with family and friends. Who knows, they may even want you to make a set for them as well!
