When and How To Use Wood Filler

Wood filler is a versatile and essential product for woodworking and carpentry projects. Whether you’re a professional craftsman or a DIY enthusiast, knowing when and how to use wood filler can enhance the quality and aesthetics of your woodwork. Wood filler, also known as wood putty or wood patch, can fill in gaps, cracks, holes, and imperfections in your wooden surfaces, creating a smooth and seamless finish to enjoy. In this blog, we’ll explore the different situations in which wood filler is beneficial, as well as the proper techniques for its application, ensuring your woodworking projects turn out beautifully and professionally.
Types of Wood Fillers
There are different types of wood fillers available, each with unique properties suited for specific applications. Water-based wood fillers are easy to use and clean up. They are best for indoor projects, as they may not hold up well to exposure to moisture or outdoor conditions. Solvent-based wood fillers are more durable and water-resistant, making them suitable for indoor and outdoor projects. They may emit strong fumes, so proper ventilation is essential when using them.
How To Use Wood Filler
Using wood filler effectively requires proper preparation and application techniques. Proper preparation and application techniques are essential to ensure the effective use of wood filler. Begin by thoroughly cleaning the wood surface, removing dust, dirt, or loose particles to ensure better adhesion. If the wood has a finish, like paint or varnish, sand the area around the hole or imperfection to expose the bare wood.
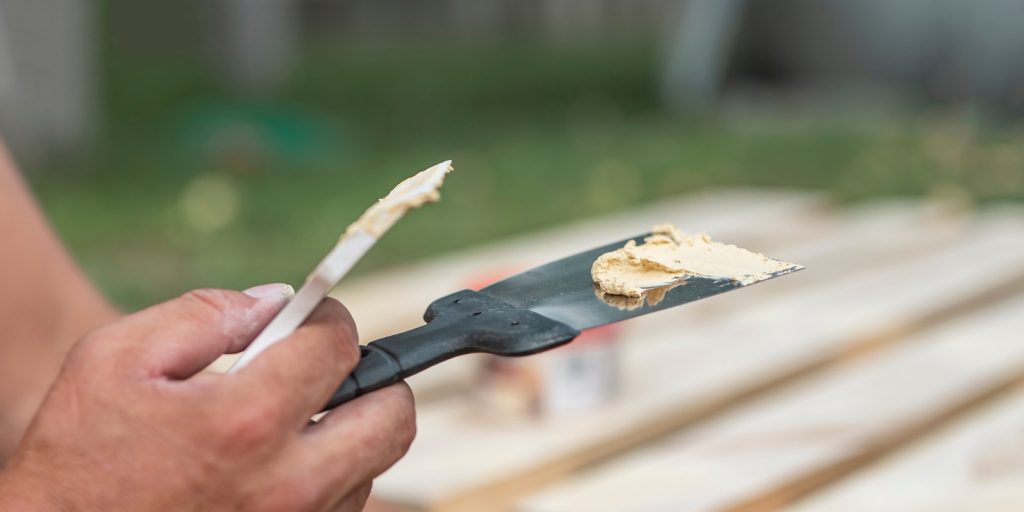
Choose the appropriate wood filler based on your project needs, considering factors like indoor or outdoor use, water resistance, and the type of wood. Apply the wood filler using a putty knife or flexible plastic applicator, pressing it firmly into the void to ensure complete filling. For larger holes, apply the filler in layers, allowing each to dry before adding the next to prevent shrinkage.
After applying, use a putty knife to smooth the surface and achieve a seamless finish. Let the filler dry according to the manufacturer’s instructions, and then sand the repaired area to create an even surface. Apply the desired finish to match the rest of the wood surface. Following these steps will help you achieve professional-looking results and enhance the beauty of your woodworking projects.
Tips When Working With Wood Filler
When using wood filler, it is essential to adhere to the manufacturer’s instructions provided on the product’s packaging to achieve optimal results. Consider the color of the wood filler about the wood you are working with, as some fillers come in various shades to match different wood types, ensuring a seamless blend.
For outdoor projects, select a wood filler with excellent water resistance to withstand exposure to the elements and maintain durability. To apply the filler effectively, use a plastic putty knife for water-based wood fillers and a metal putty knife for solvent-based fillers. If the wood filler shrinks or settles after drying, apply an additional layer to achieve a smooth and even surface, resulting in a professional-looking finish for your woodworking projects.
Conclusion
Wood filler is a valuable tool for achieving flawless woodworking results. Knowing when and how to use wood filler can greatly enhance the quality and appearance of your projects. Whether you’re filling holes, repairing surface damage, or preparing wood for finishing, wood filler provides a seamless and professional solution. You can turn your woodworking projects into stunning masterpieces with smooth and flawless wood surfaces. Embrace the versatility of wood filler, and take your woodworking skills to new heights with the confidence of achieving impeccable results in every project you undertake.
