Sheetrock vs Drywall: How to Safely Demo Each Wall Type

When it comes to home renovations or repairs, it’s crucial to know your wall types, especially when you’re considering demolition work. Two commonly used wall materials in residential construction are sheetrock and drywall. Although these terms are often used interchangeably, they have some differences that can affect how you safely and effectively remove them.
In this guide, we’ll explore the distinctions between sheetrock and drywall and provide you with step-by-step instructions on how to safely demo each wall type. Whether you’re a DIY enthusiast or a homeowner looking to tackle a renovation project, understanding the nuances of these materials and the proper demolition techniques will help you get the job done efficiently while minimizing potential hazards.
Sheetrock vs. Drywall: What’s the Difference?
Sheetrock
Sheetrock is a brand name for a specific type of drywall. It consists of a gypsum core sandwiched between two layers of heavy paper. Known for its high-quality finish, sheetrock is often used in residential and commercial construction. It is available in various thicknesses, with 1/2-inch and 5/8-inch being the most common for walls.
Drywall
Drywall, on the other hand, is a more generic term used to describe a broader range of similar construction materials. Like sheetrock, it also comprises a gypsum core encased in paper. Drywall comes in various thicknesses, including 1/4-inch and 3/8-inch, and it’s commonly used for ceilings and interior walls.
Safety Precautions Before Demolition
Before you start demolishing sheetrock or drywall, it’s essential to take safety precautions to protect yourself and your surroundings. Always wear appropriate safety gear, including safety glasses, a dust mask or respirator, gloves, and hearing protection. Additionally, consider wearing long sleeves and pants to shield your skin from dust and debris.
Turn off utilities if your demolition work involves electrical outlets or plumbing fixtures to prevent accidents. Before you begin, remove furniture and personal belongings from the room to prevent damage and make the demolition process more manageable. Lastly, cover the floor with drop cloths or plastic sheets to catch falling debris and simplify the cleanup process.
Safely Demolishing Sheetrock
Step 1: Identify Wall Attachments
Before you start, identify any wall attachments, such as electrical outlets, light switches, or wall-mounted fixtures. Turn off the power to these areas and remove the fixtures and covers.
Step 2: Create a Starting Point
Use a utility knife or a drywall saw to create a starting point for the demolition. Cut horizontally along the seams of the sheetrock near the ceiling and floor. This will allow you to remove the sheetrock in manageable sections.
Step 3: Pry and Remove Sections
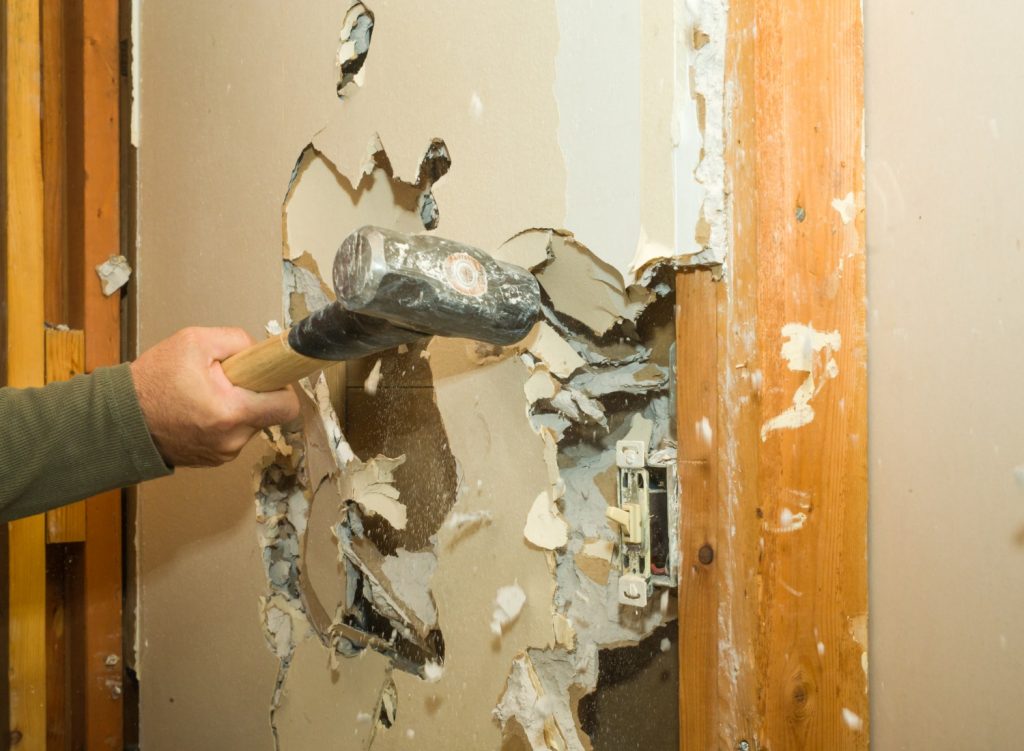
Insert a pry bar or crowbar into the cut seam and gently pry the sheetrock away from the wall studs. You can also carefully use a sledgehammer. Be cautious not to damage the studs or any wiring or plumbing behind the sheetrock. Work your way along the wall, removing sections systematically.
Step 4: Dispose of Debris
Once you’ve removed all the sheetrock sections, gather and dispose of the debris in a proper waste container. Sheetrock is recyclable in some areas, so consider checking local recycling options.
Safely Demolishing Drywall
Step 1: Identify Wall Attachments
Like with sheetrock, start by identifying and turning off the power to any wall attachments. Remove fixtures, covers, and outlet plates.
Step 2: Score the Drywall
Use a utility knife to score the drywall along the seams, including the ceiling and floor. This scoring will make it easier to remove the drywall in sections.
Step 3: Pry and Remove Sections
Gently insert a pry bar or crowbar into the scored seams and pry the drywall away from the wall studs. Be cautious not to damage the studs or any hidden utilities. Work your way along the wall, removing sections methodically.
Step 4: Dispose of Debris
Collect the removed drywall sections and dispose of them properly. You can often recycle drywall, so check local recycling programs for disposal options.
Conclusion
Knowing the difference between sheetrock and drywall and understanding the safe demolition process for each is essential for any homeowner or DIY enthusiast. By following these steps and taking appropriate safety precautions, you can efficiently and safely remove these wall materials when needed, whether for renovation, repair, or remodeling projects. Always remember to prioritize safety and wear the necessary protective gear to ensure a successful and hazard-free demolition.
